
Openings can be filtered several ways including by row, by column, hardware, door type, or frame elevation. Product searches may be performed by filtering on a key word.
Filter by Hardware – displays openings assigned to the selected hardware set.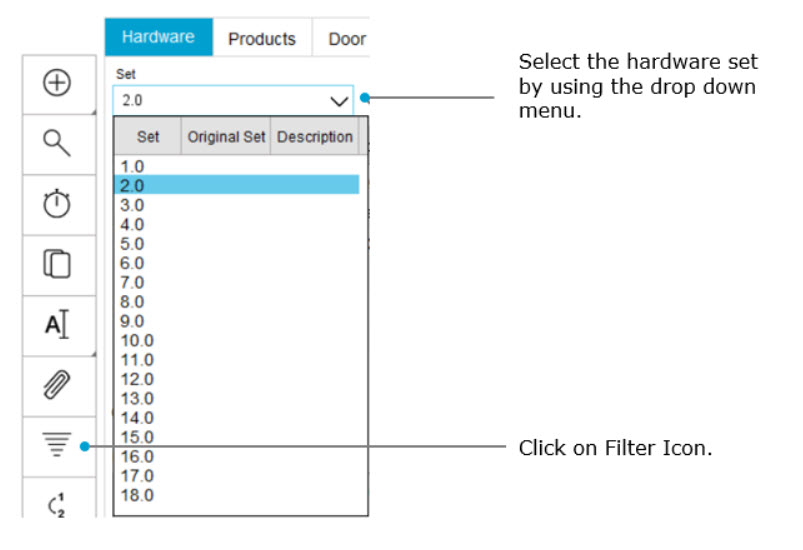
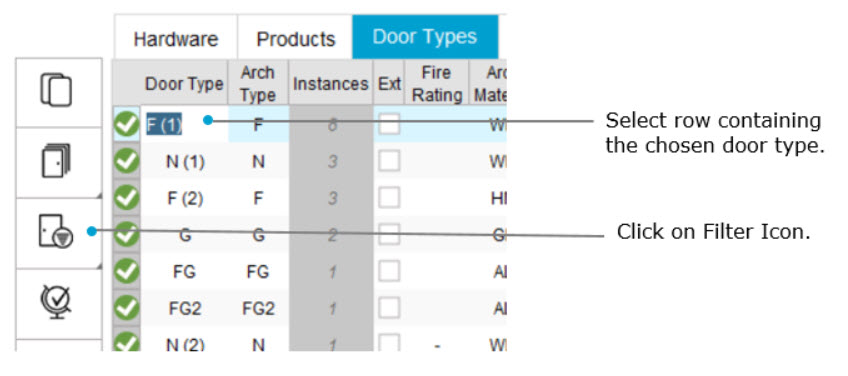
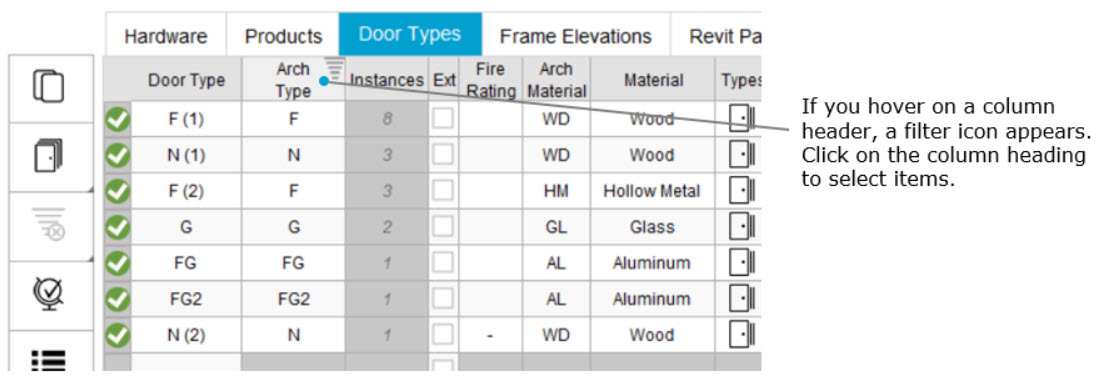
Filter by Door Type - displays openings assigned to the selected door type.
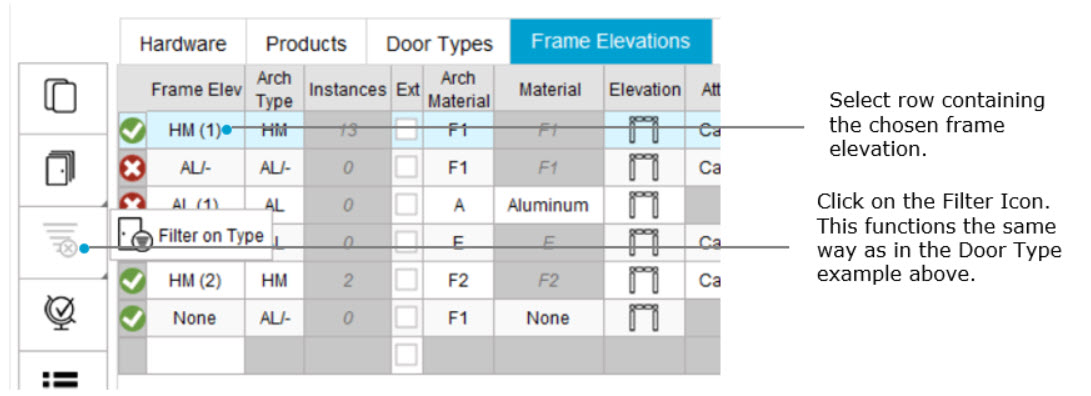
Filter by Frame Elevation - displays openings assigned to the selected frame elevation.
Filter by Row
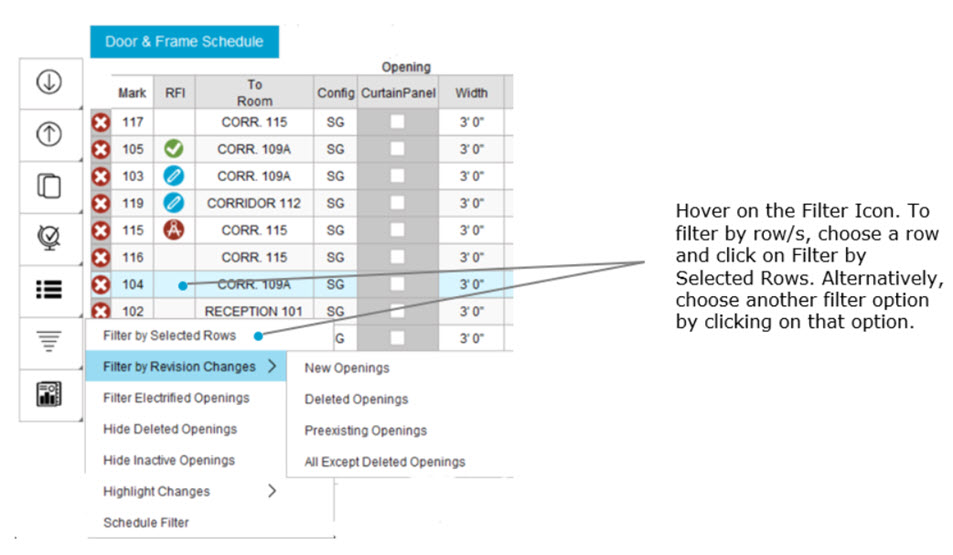
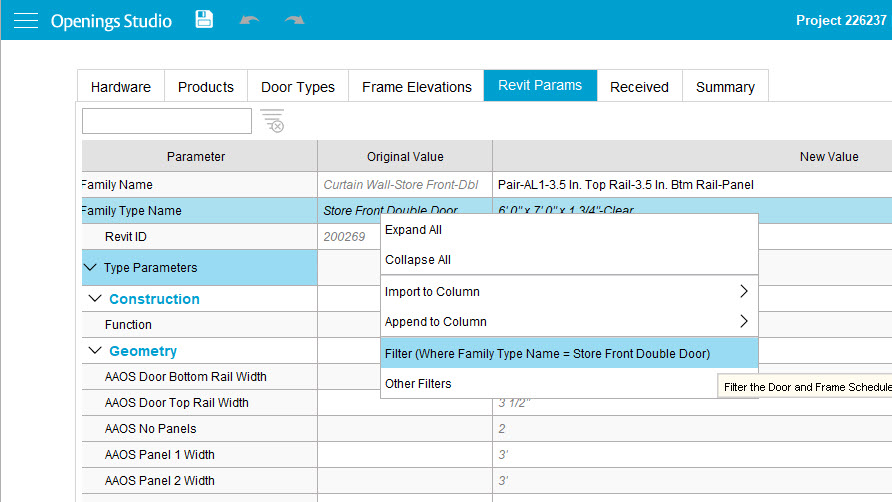
Filter by Revit Parameters - displays openings with the selected Revit data.
Clear Filters
- Once a filter has been selected, the Clear Filters button will appear at the top of the Door & Frame Schedule.
- Click the Clear Filters tab to clear filters.
Note: If no filters are selected, the Clear Filters button is not visible.

Column Filters
- Within the Door & Frame Schedule, Door Types, and Frame Elevations, column filters are available.
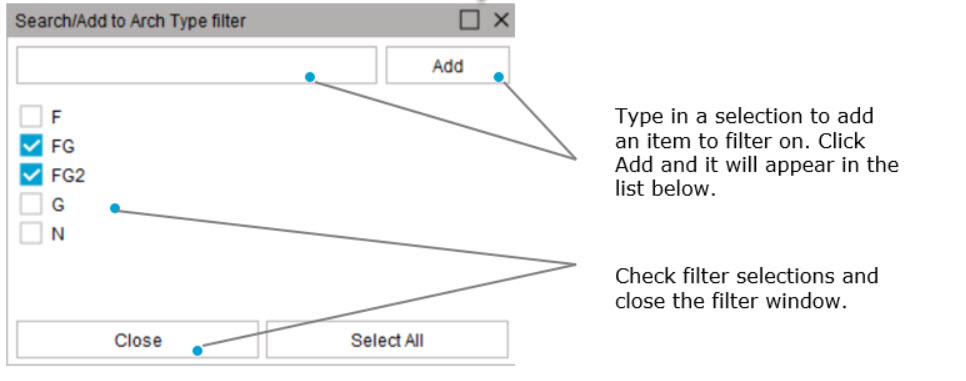
- Click on the column heading to view the filter window.
- Select the items to filter and close the window.
Clearing Column Filters
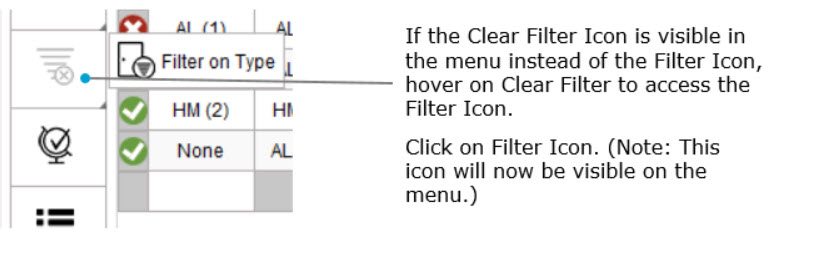
Clear column filters in the Door & Frame Schedule by using the Clear Filter button described under Clear Filters above. Clear filters under the Door Type and Frame Elevation by using the Clear Filter icon in the menu.

Product Filter / Search
To search for a product by filtering, type the keyword. To remove the filter, Click on the Clear Filter icon. 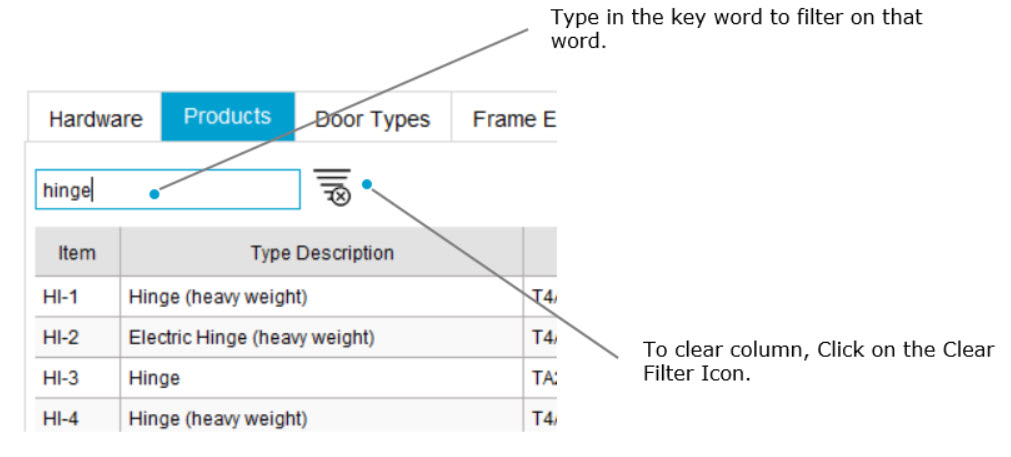
Tip: To view or remove applied filters
1. Right-click and Hover on Remove Filter Values.
2. Click on the item to be removed.
Related Topics