
Steps to export
Before we begin, there’s a common misconception that everyone must be out of the model to use this feature. This is no longer required.
That said, if multiple users are actively working in the model, it can be helpful to run the export when fewer people are logged in. If someone syncs while you are exporting, you may need to redo the process because your model will become out of date.
Exporting is much faster than analyzing, so we recommend trying it, even if others are working.
Psst!
Are you here because you tried this already, but you're not sure if it worked?
Steps 10 and 14 are the most common places for errors. You may want to start there.
1. Open your project in Revit
If you have linked models, you will need to repeat this process for each one. We recommend only opening one file at a time.
2. Launch
In the Revit ribbon:
- Select the Openings Studio tab
- Click Import
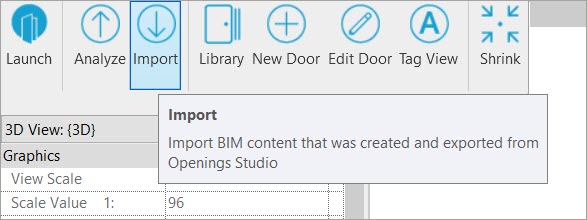
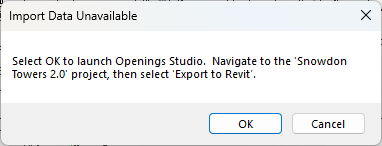
3. Import Data
Click OK to launch Openings Studio.
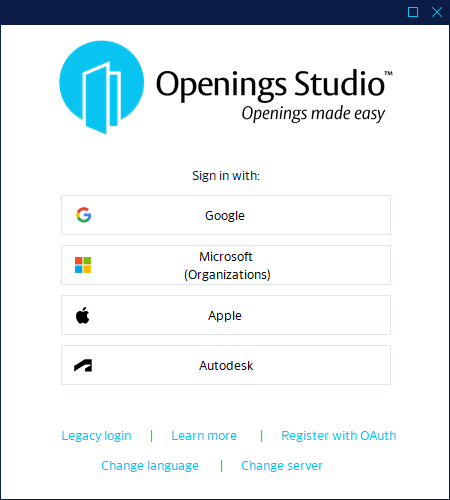
4. Login
Openings Studio will:
- Launch
- Check for updates
- Prompt you to log in
5. Open the project
5a. Locate
Openings Studio will try to locate and open the project for you.
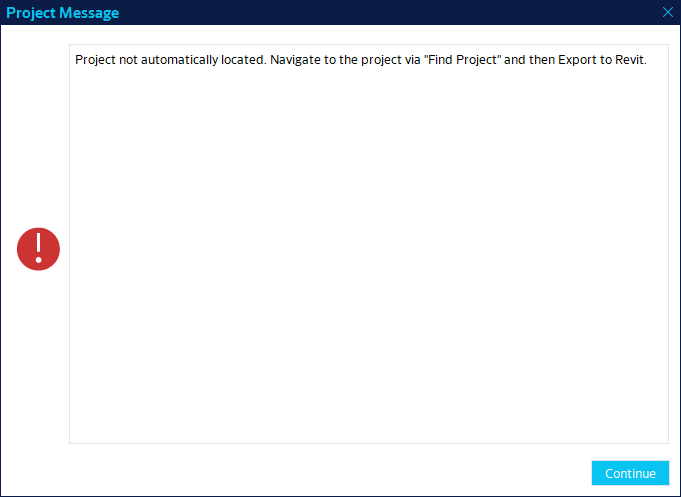
5b. Unable to locate automatically
You may need to manually find the project if you receive this message:
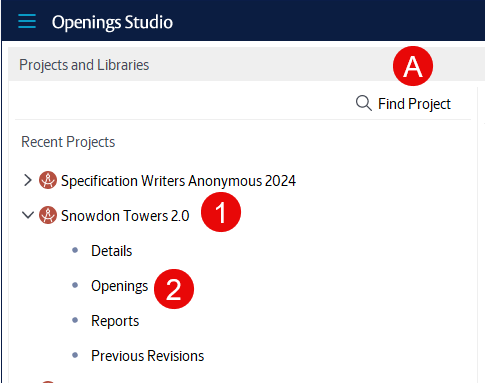
5c. Manually locating
- If you see the project on the Home screen, you can:
- Expand it (1)
- Click on Openings (2).
- Alternatively (A), you may use Find Project to locate it.
- This is more common with a new install or a new user.
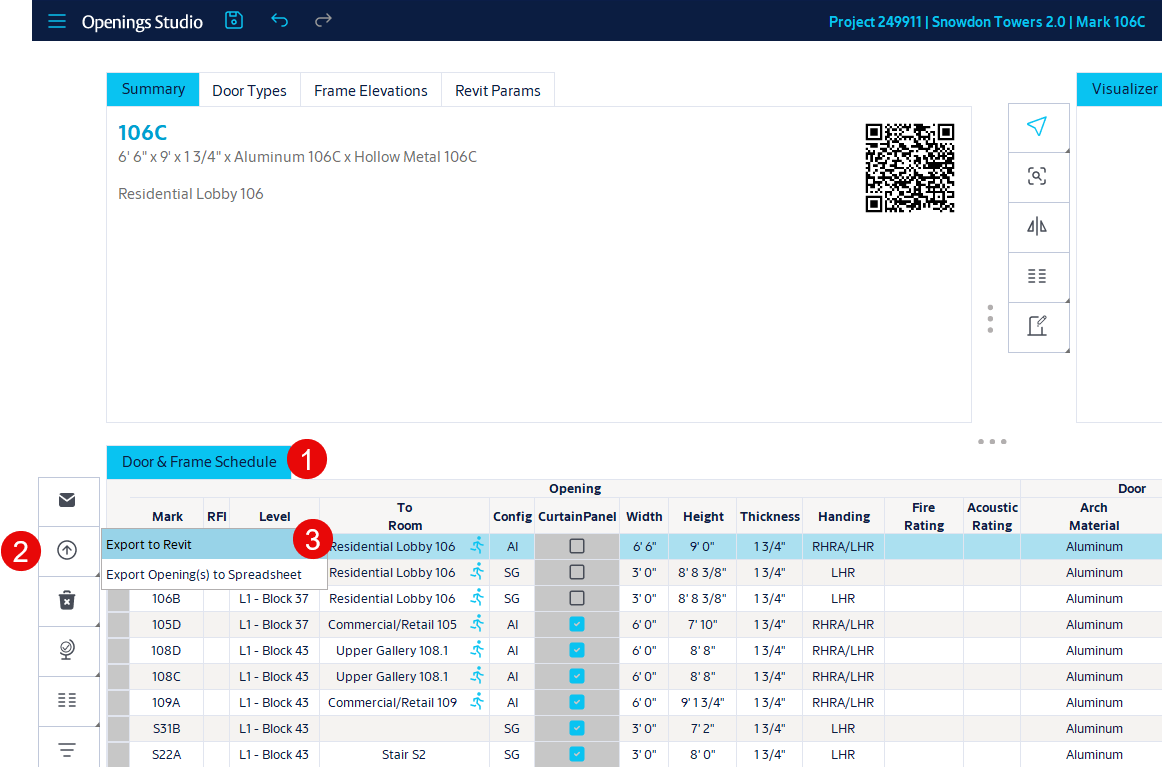
6. The Openings screen
The Openings screen will display.
- Look at the Door & Frame Schedule (1)
- Hover over the Up Arrow icon (2)
- Select Export to Revit (3)
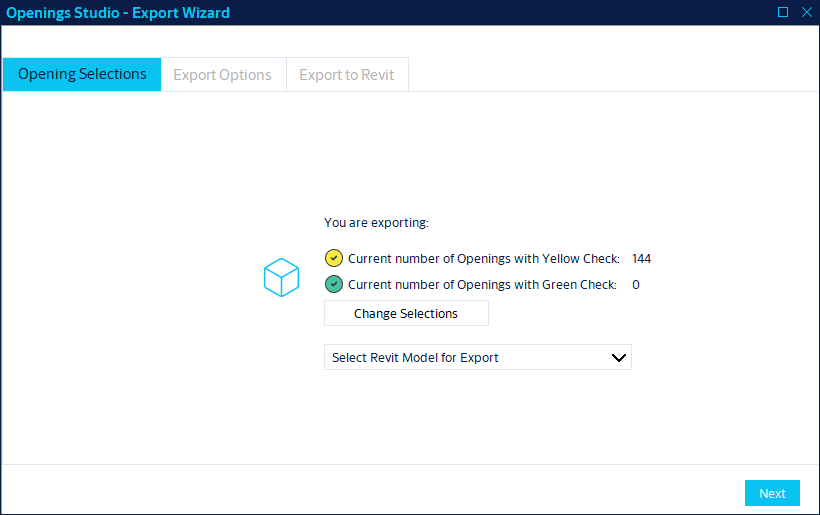
7. Export Wizard - Opening Selections
Confirm that all openings are selected with a yellow check mark.
- Yellow checks = parameters only
- This is the most common and fastest choice.
- If you have linked models with doors, you will see a dropdown menu to pick the model you have open.
- On large projects, using this dropdown will save you some time.
Click Next to continue.
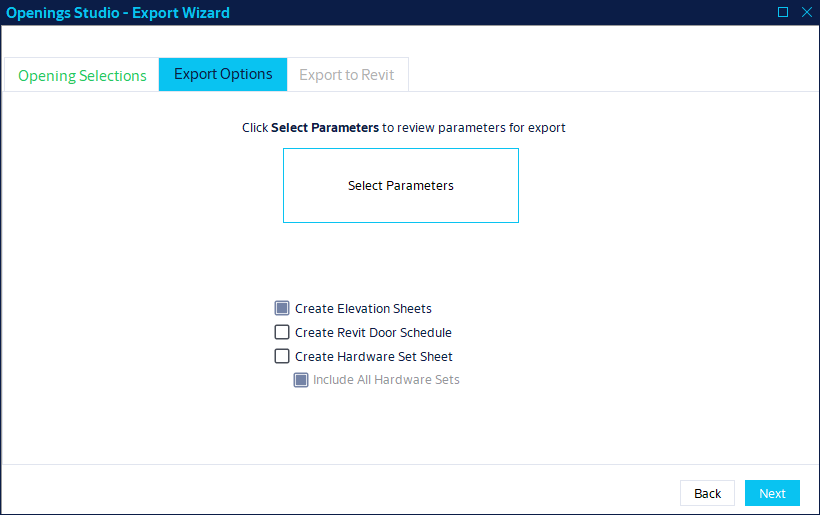
8. Export Options
8a. Select Parameters - most important step
Click Select Parameters to verify or choose which parameters to send to Revit.
If you have previously exported this project, your selections will be remembered.
- We recommend:
- Project -> AAOS HW Set
- Appears in Revit as AAOS Project HW Set
- Best for single model projects and door schedule placement only.
- Appears in Revit as AAOS Project HW Set
- Shared -> AAOS HW Set
- Appears in Revit as AAOS Shared HW Set
- Best for linked model projects and tagging hardware sets on the floor plan.
- Best for linked model projects and tagging hardware sets on the floor plan.
- Appears in Revit as AAOS Shared HW Set
- Project -> AAOS HW Set
- Only select what you need, not everything.
- Selecting everything will add many parameters to your model, which is not advised.
To learn more about mapping AAOS parameters to Revit Instance parameters, click here.
8b. Parameter Options Reminder
If Select Parameters is not opened before clicking Next, a confirmation window will appear. Click Accept if correct.

8c. Create Elevation Sheets
- We will skip this feature as it is mostly retired.
8d. Create Revit Door Schedule
Do you already have a door schedule in Revit? If yes, we recommend skipping this checkbox.
- It's great for small projects or test runs when learning about Openings Studio.
8e. Create Hardware Set Sheet
This will generate a sheet in Revit of text containing all the hardware sets in the project.
- You will likely need to modify it to match your firm standards.
Click Next to continue.
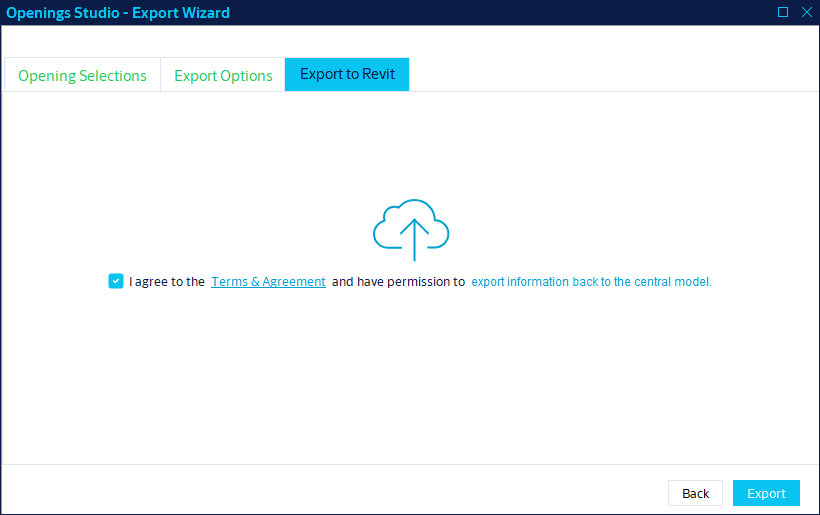
9. Export to Revit
Read the terms and if you agree, check the box.
Then click Export.
10. Export
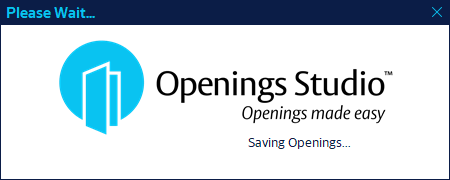
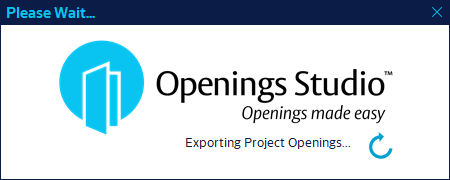
10a. Save
The Openings Studio project will save and then export all the information you selected for Revit.
10b. Export complete (if applicable)
Openings Studio will check if the project is open in Revit. If it cannot find it, you will receive this message:

10c. Kickstart the Import
Click the Import icon the Openings Studio toolbar in Revit.
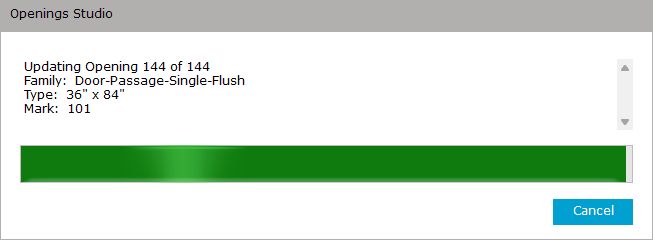
11. Import
The import process will start in Revit. Even if you did not export families, you will see some text about families.
- The progress bar should move fairly quickly.
- You may receive a message about door(s) being checked out. If you continue, it will skip any doors that are checked out by someone else and display them at the end.
- If you receive a message that your model is out of date, you may need to run the export again after re-syncing.
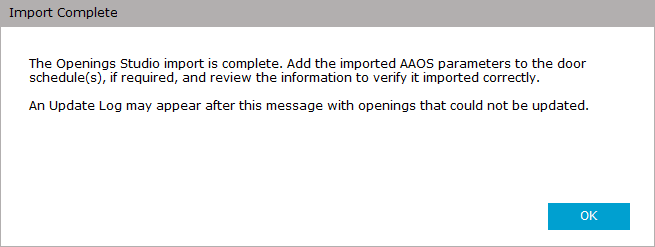
12. Success message
Note: Do not stop after this section. Step 14 is important and frequently missed.
You will receive a completion message every time the import is complete:
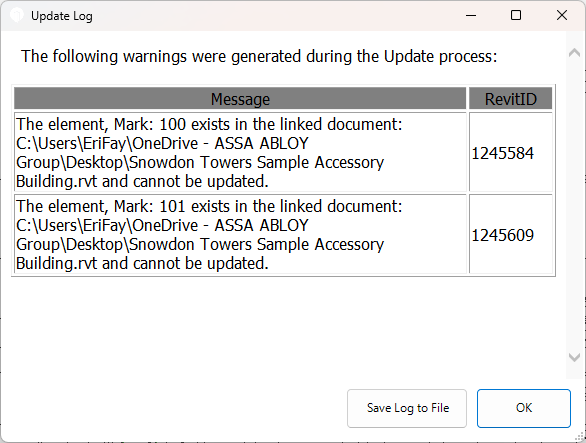
13. Update Log
If there were any doors that could not be updated, they will appear in the update log. Common reasons doors cannot be updated:
- Part of a linked model
- Deleted since the project was analyzed
- Checked out by someone else
14. Revit Schedule
Open the door schedule in Revit
- Click Edit next to the Fields option in the Properties
- Select AAOS parameter(s) under Available Fields.
- Click the Add button to move the AAOS parameter to the Scheduled Fields.
- You are free to move and match the existing schedule format.
- Click OK to update the door schedule.
- Repeat as needed for other schedules.
One last step and you're done. Review for any missing or incorrect information. If something appears wrong, reach out to your specification representative with questions.
Related Links
Get started - Analyze project checklist