The Dashboards enable quick access to information about openings and site survey inspections. Learn out to add projects to a dashboard here.
For both Owners and Contractors, the Dashboard appears on the Home screen.
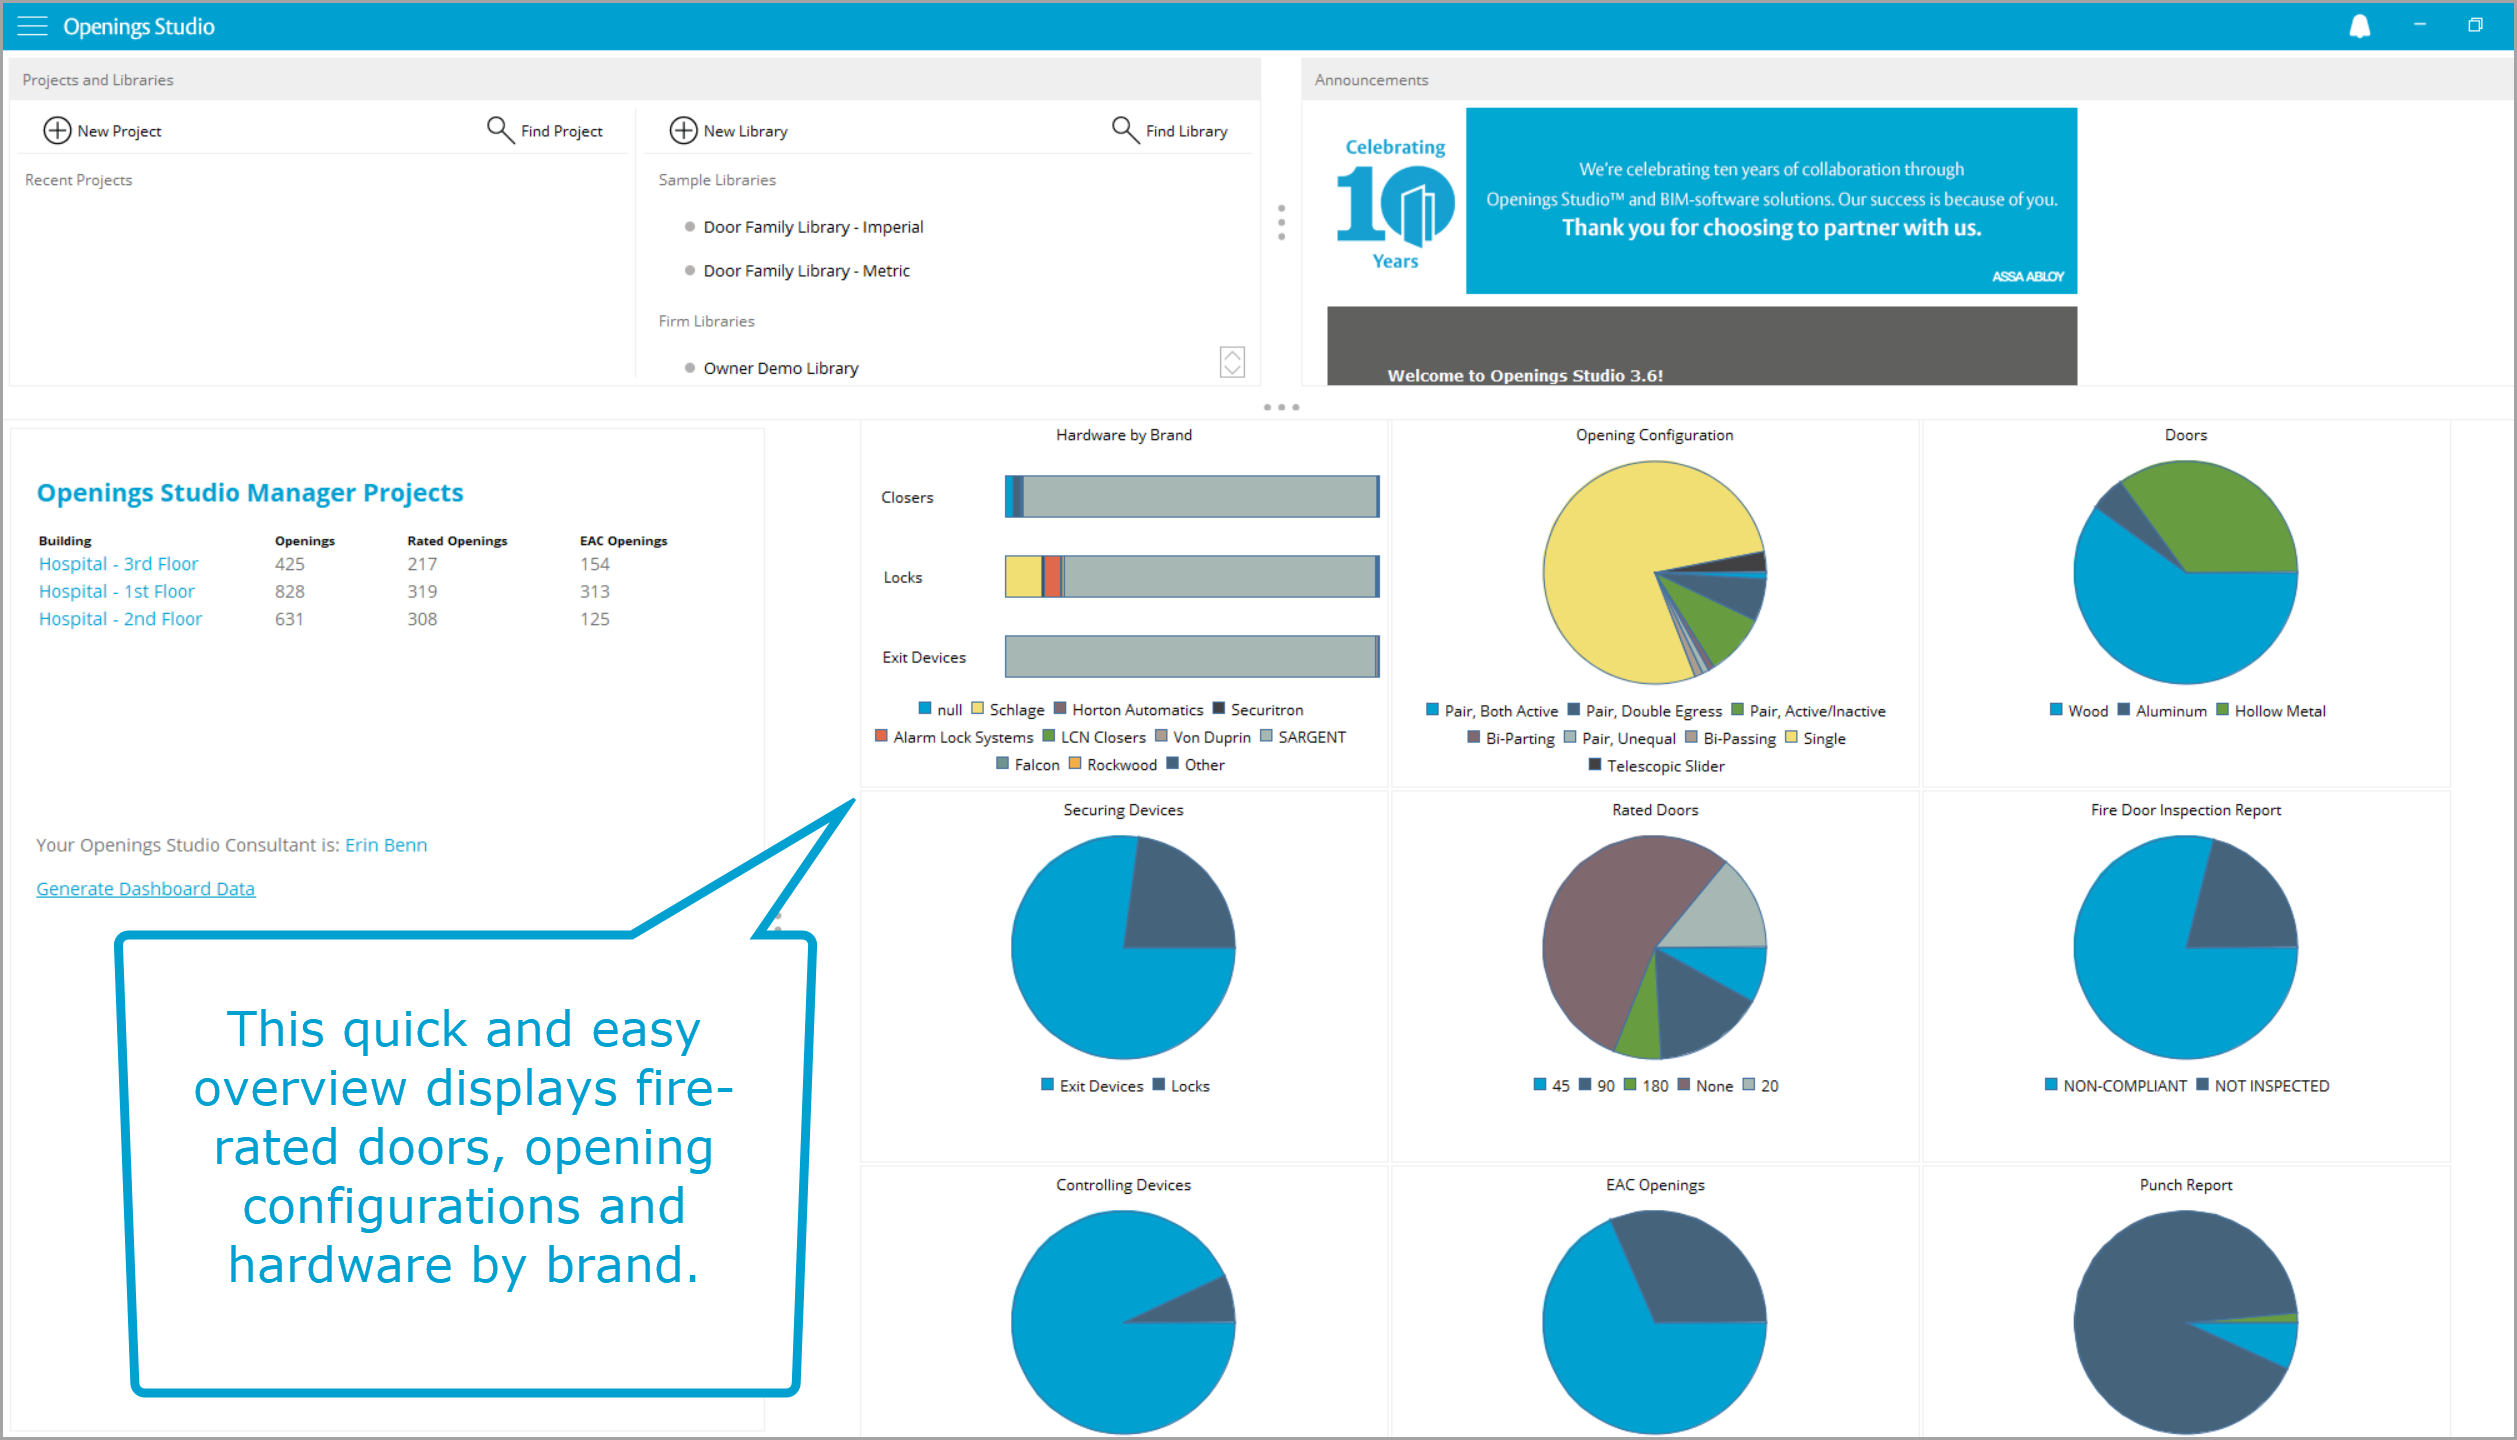
All your projects and your Openings Studio Consultant are listed to the left side of the screen. Click directly on your consultant to generate an email.
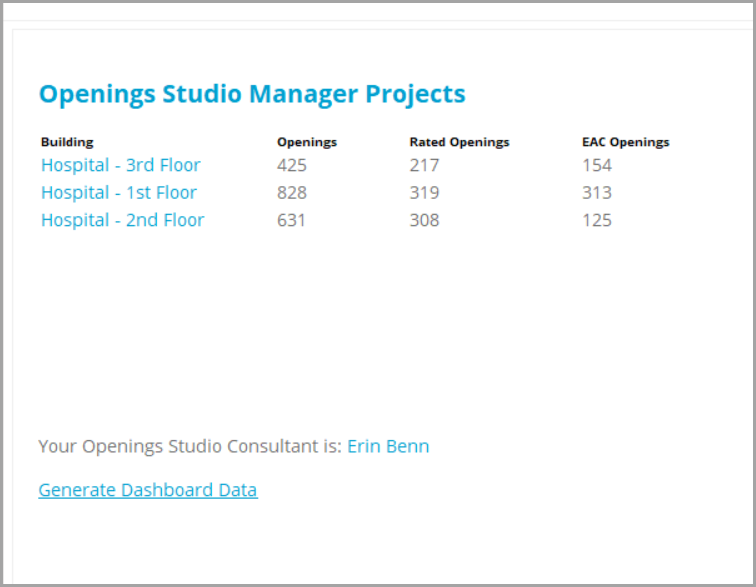
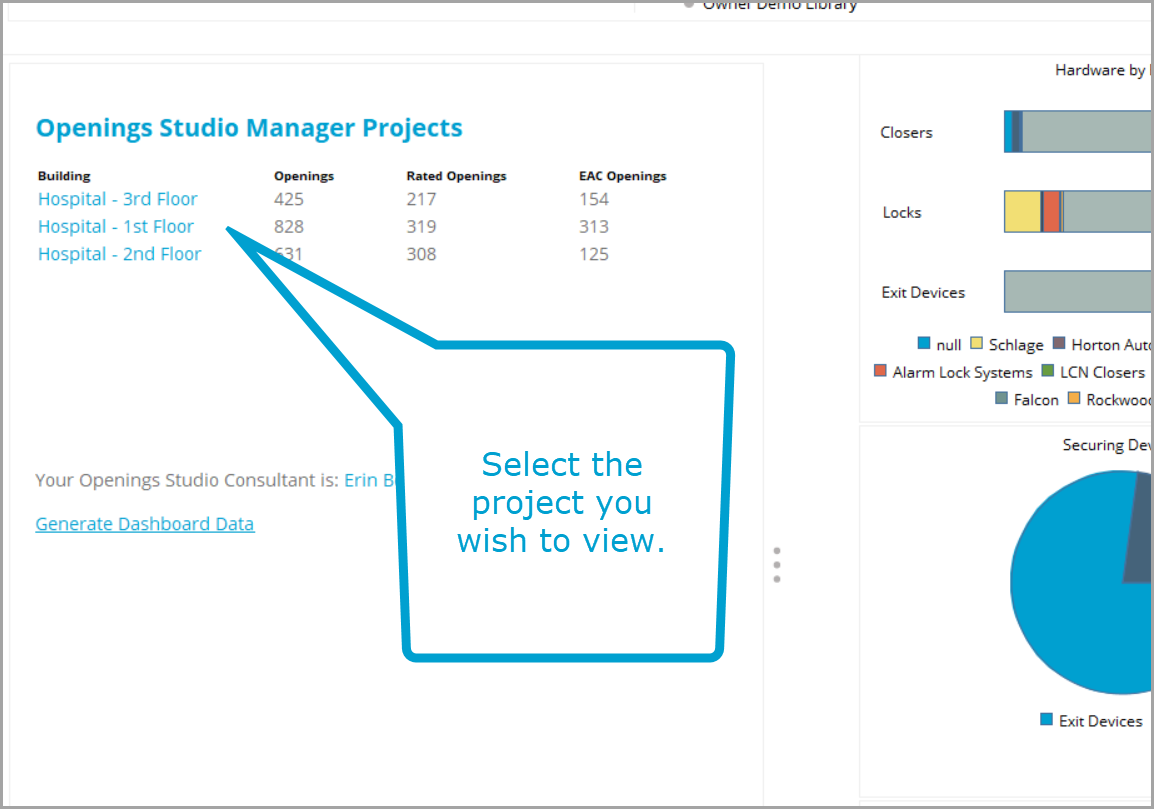
To review detailed information about a project, click on the project name.
Note: You must also be authorized to open the project.
There are four panes on this screen for viewing information. You may close out one or both of the views on the right side if you want to have more space.
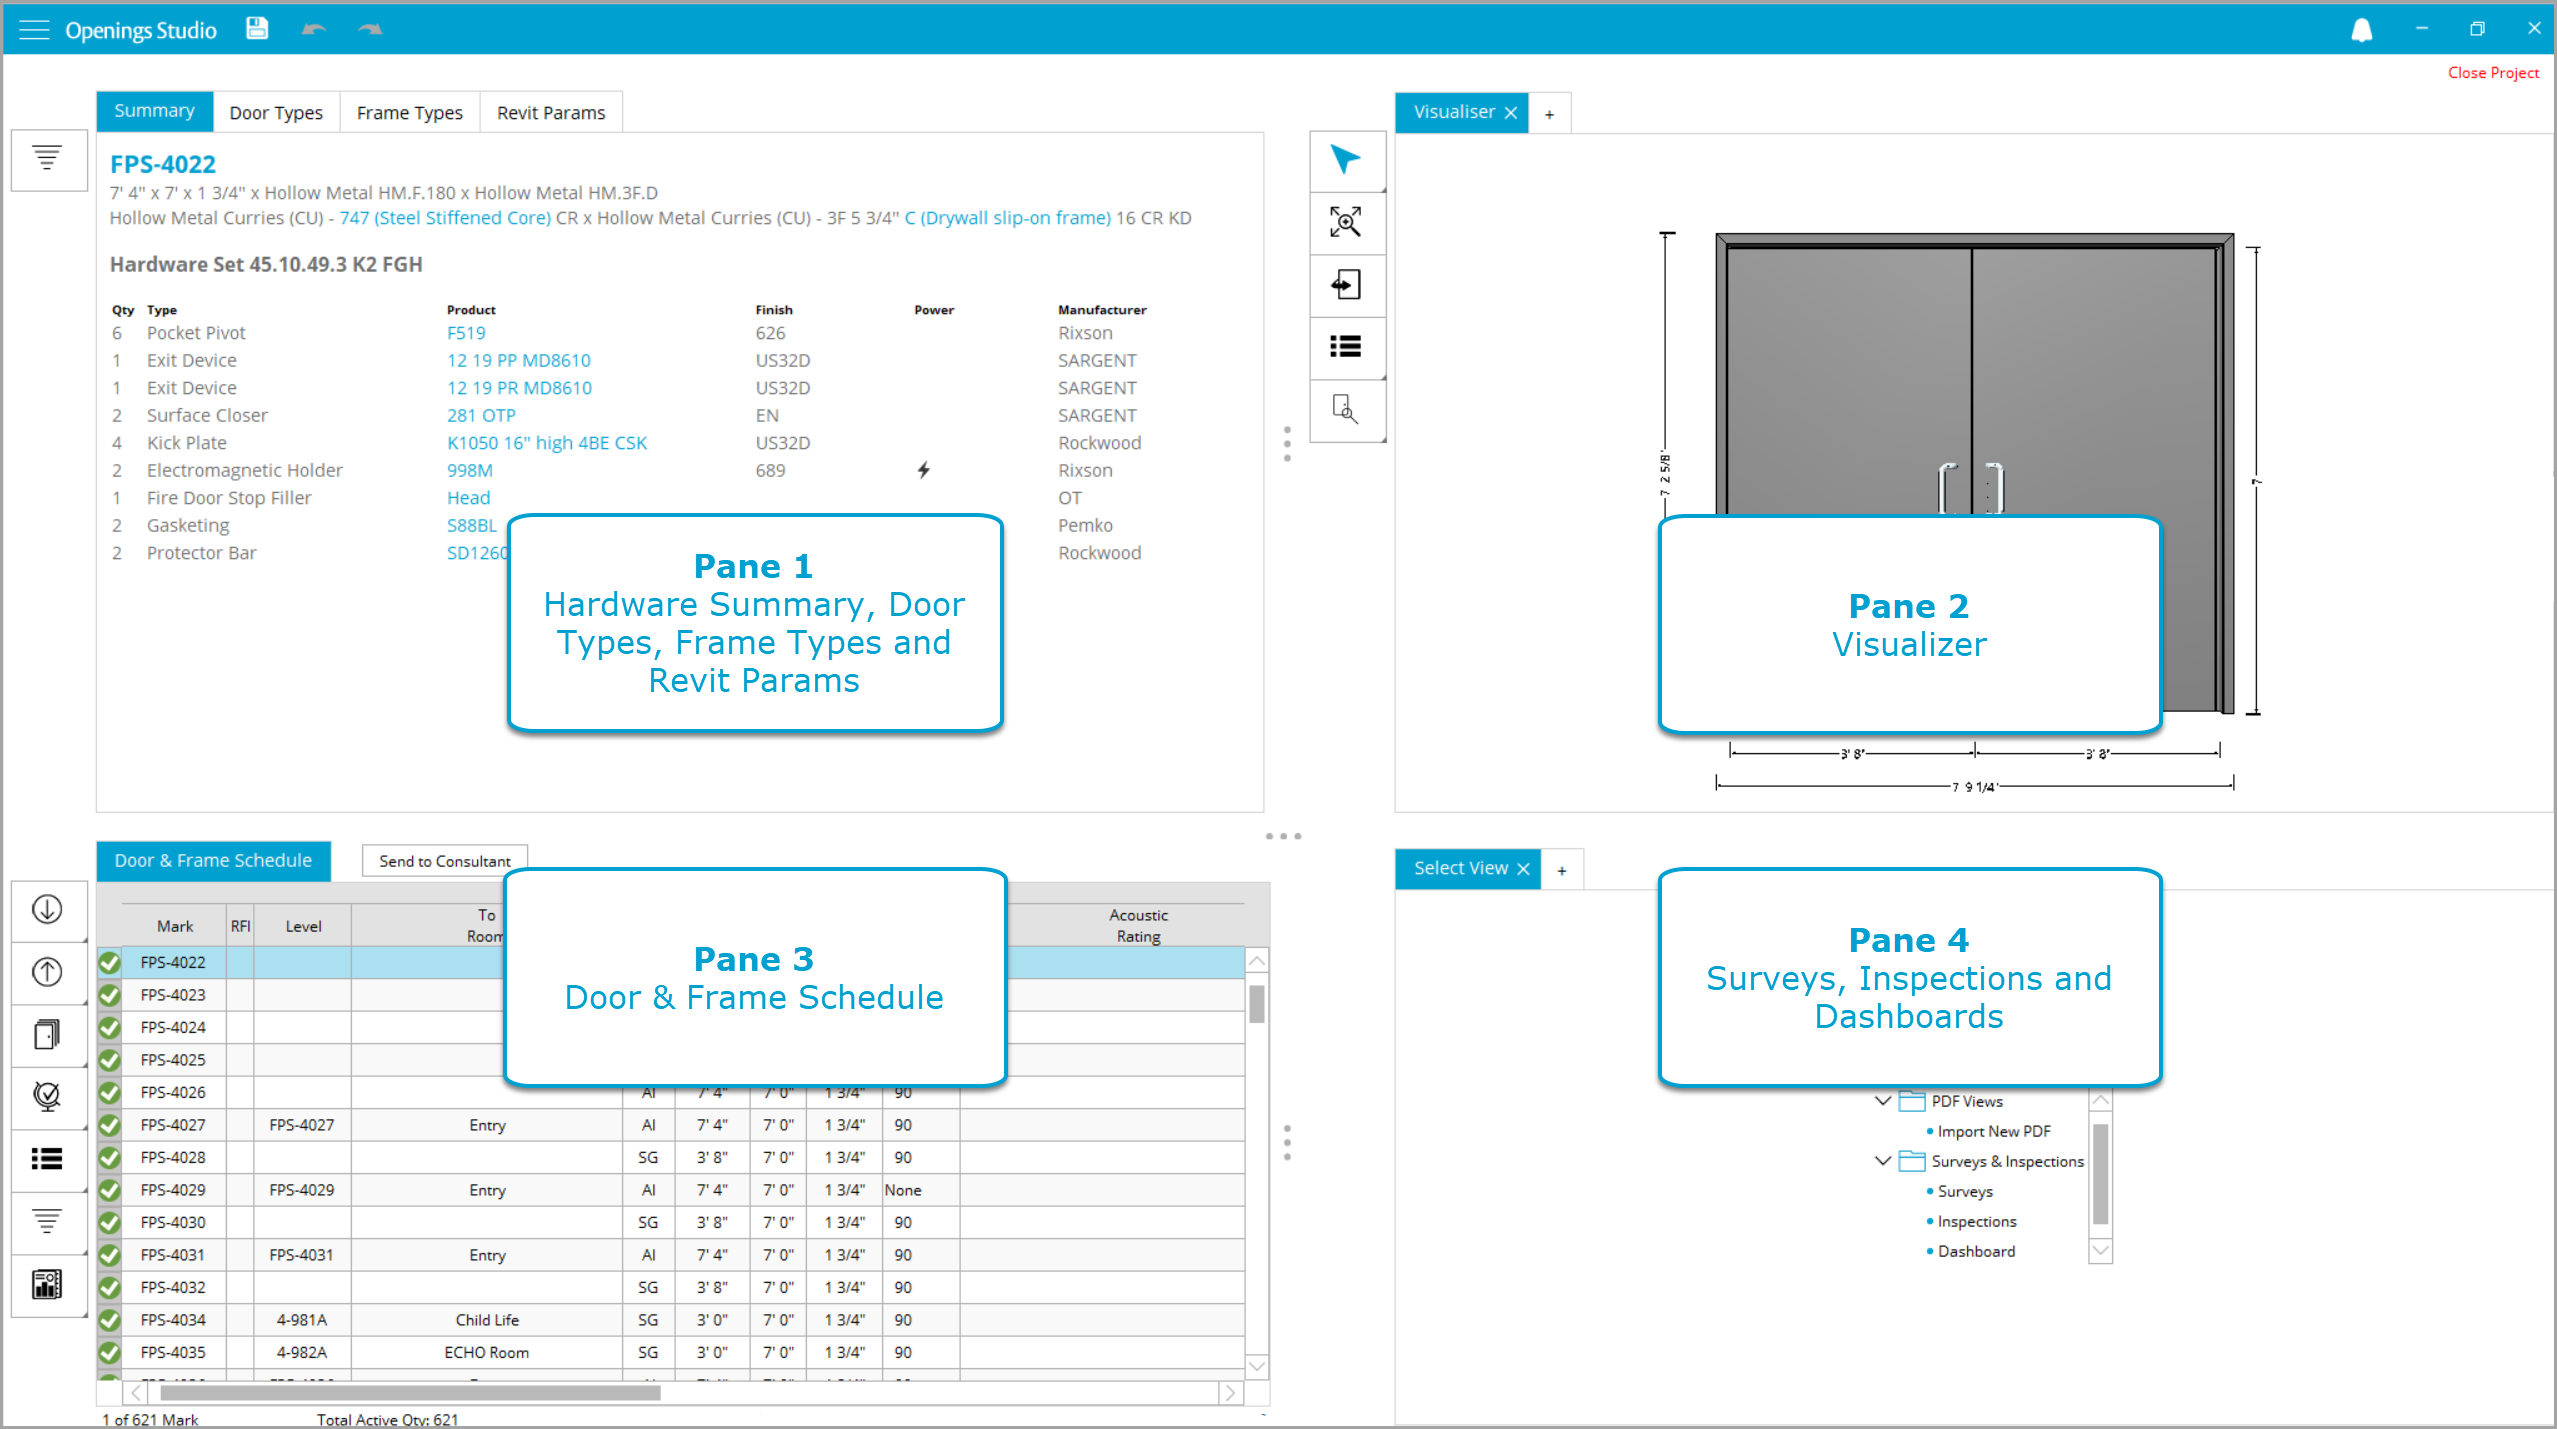
Pane 1 contains tabs for the hardware summary, door types, frame types and Revit params.
Pane 2 is the Visualizer.
Pane 3 is the Door & Frame Schedule.
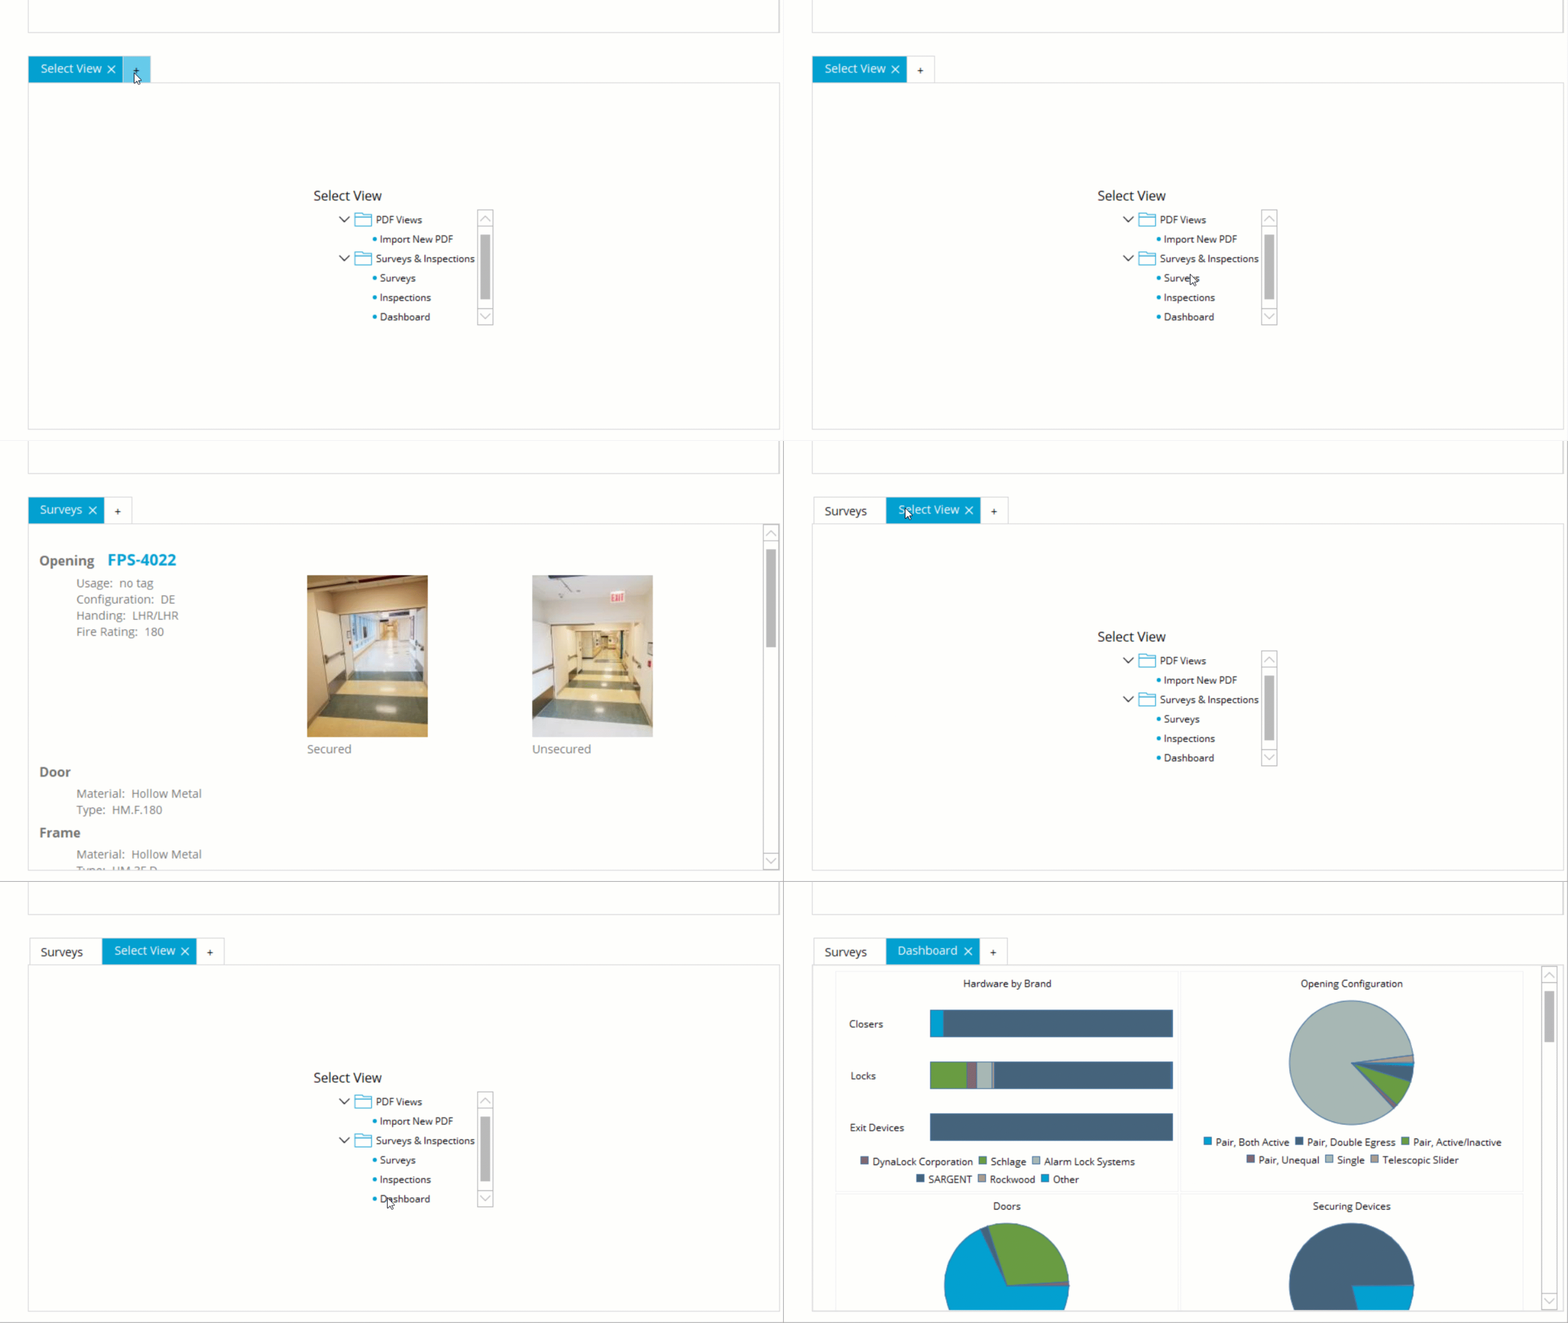
Pane 4 displays site survey information, inspections and dashboards.
To access the information in the 4th pane, click the + tab.
How to add a project to a dashboard
Step 1: Make sure you have the permission to add projects to dashboards.
Step 2: On the Details screen, assign the Contractor and/or Owner account that needs the project in their dashboard.

Step 3: Click the box by Project Name called Include in Dashboard.

Step 4: Authorize any users in those accounts who need access to open the project.

Step 5: Click Save to confirm changes and repeat on other projects as needed.
Learn more about updating your charts here.
