Firm administrators or project creators can add or remove users on a project.
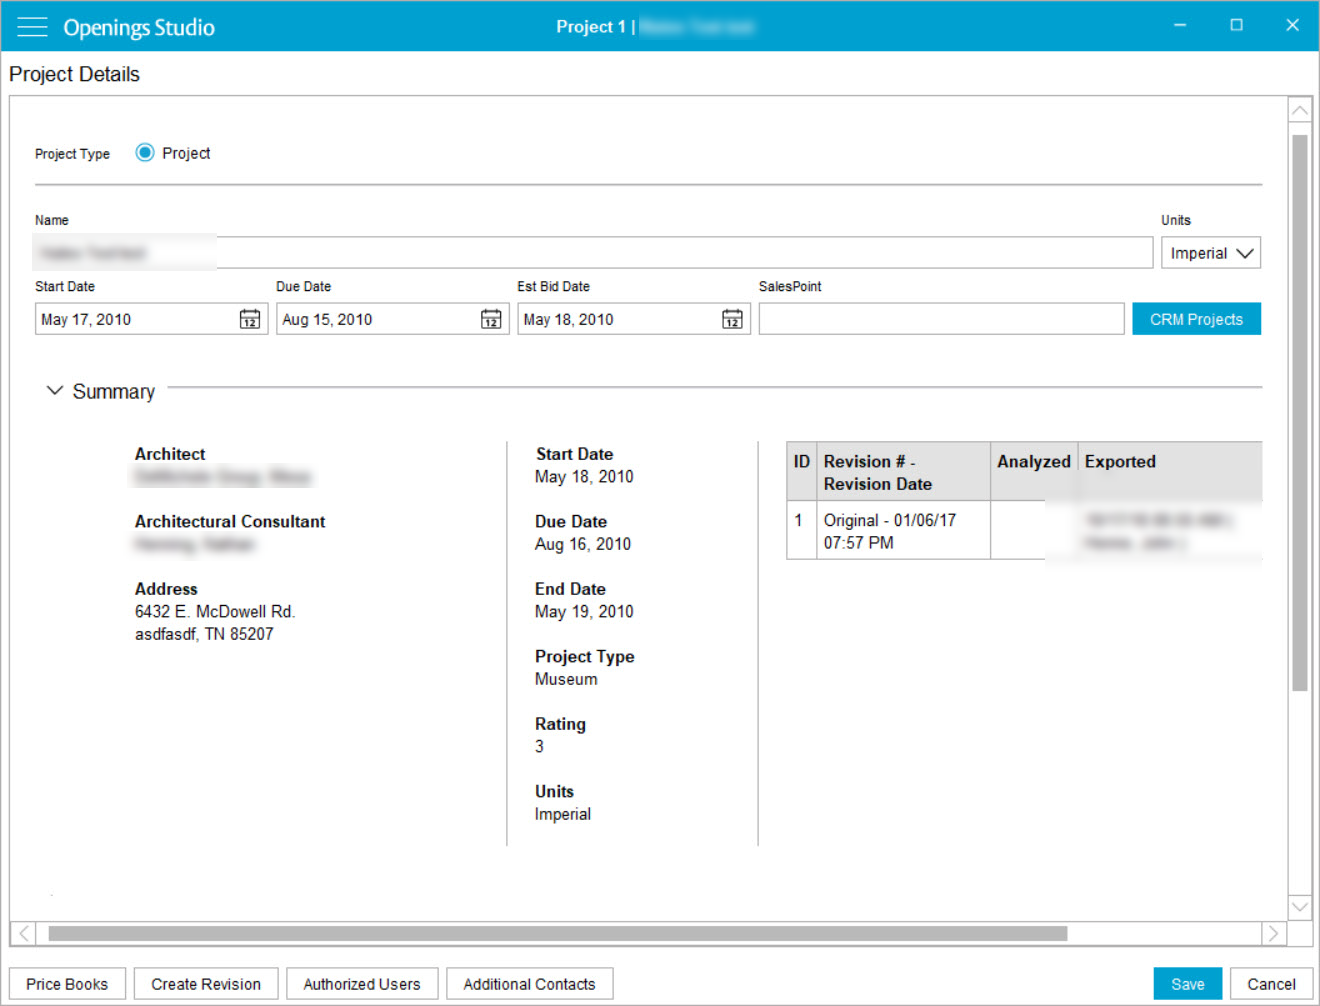
1. Open the Project Details Screen.
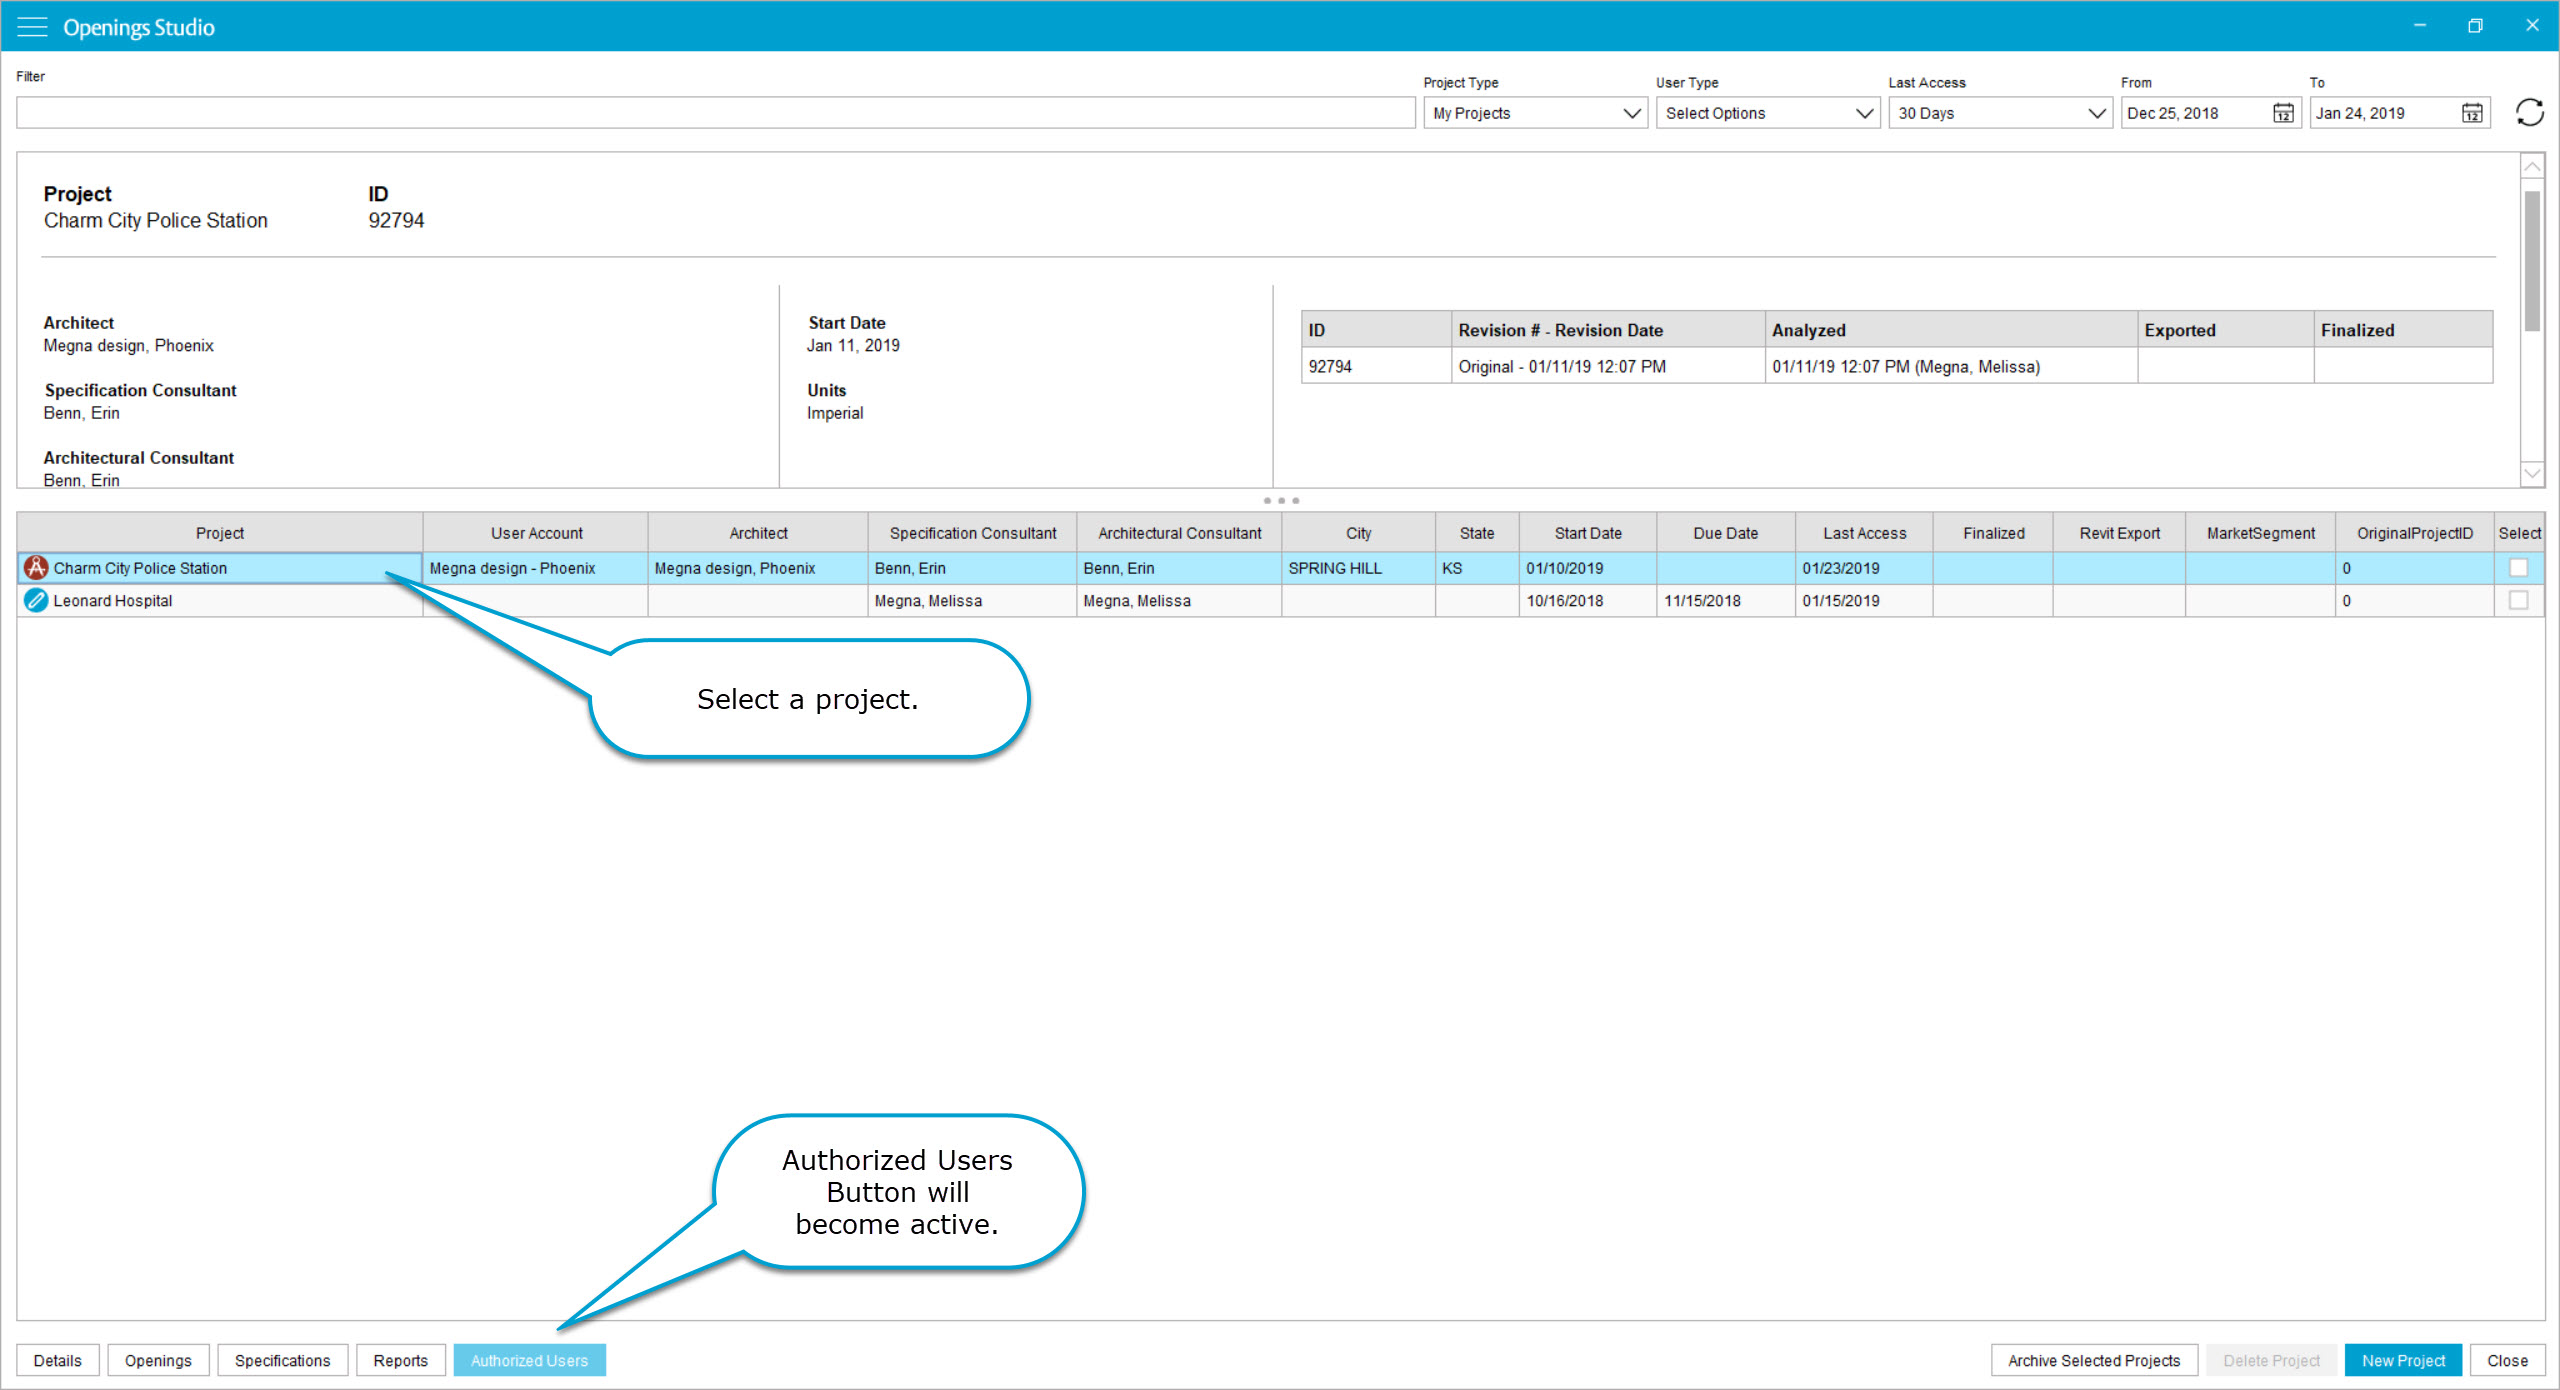
2.. Click on Authorized Users Button on the bottom left corner of the screen.
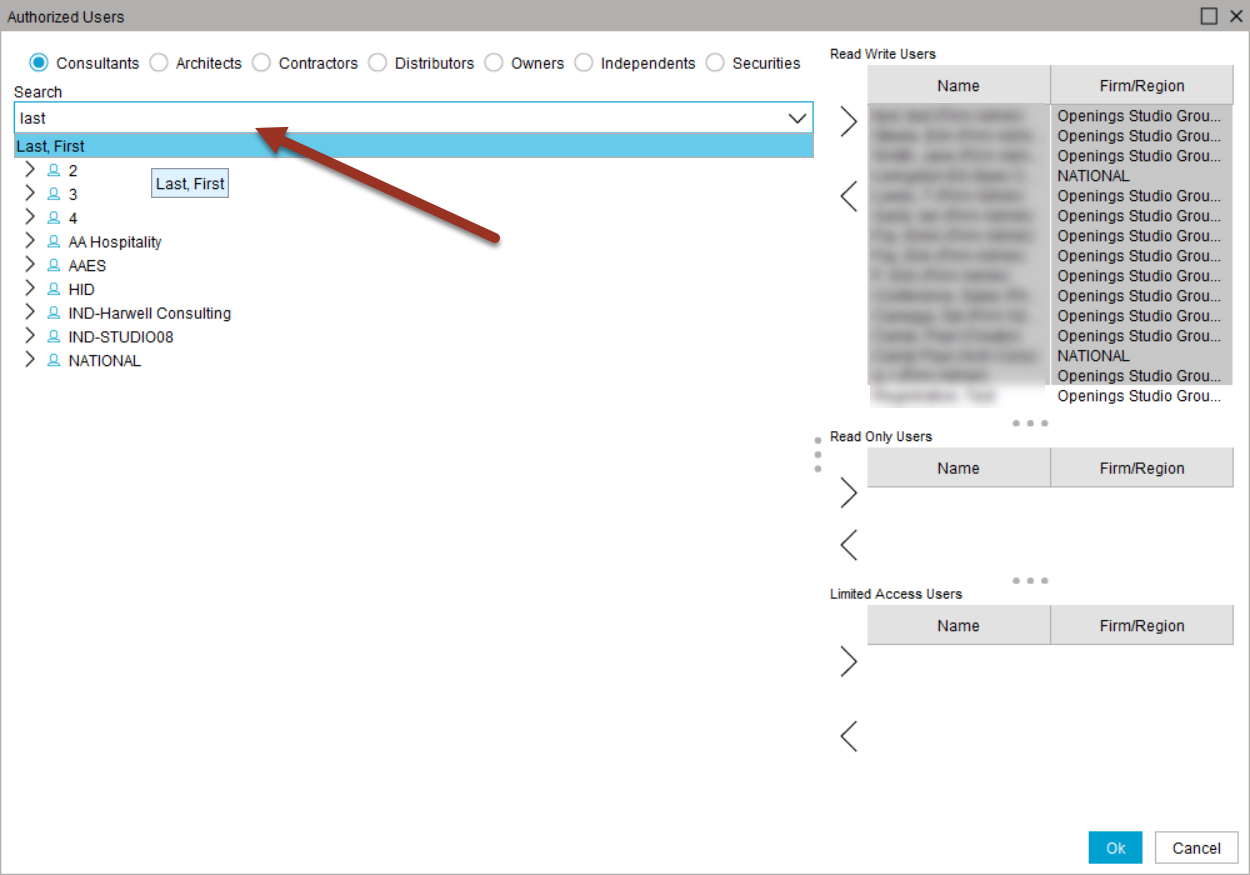
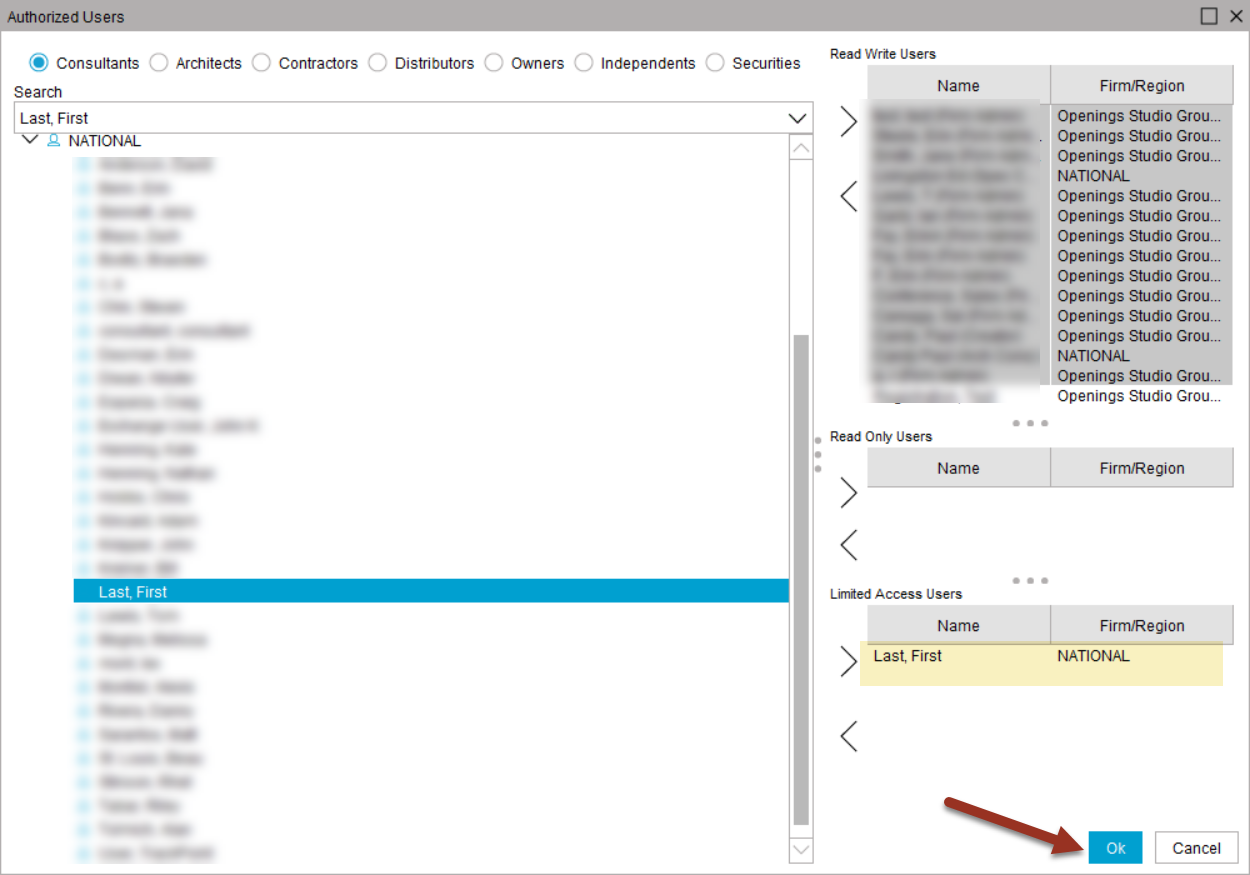
3. An Authorized Users window will display. Find the user in the Search field or by using the drop-down categories.
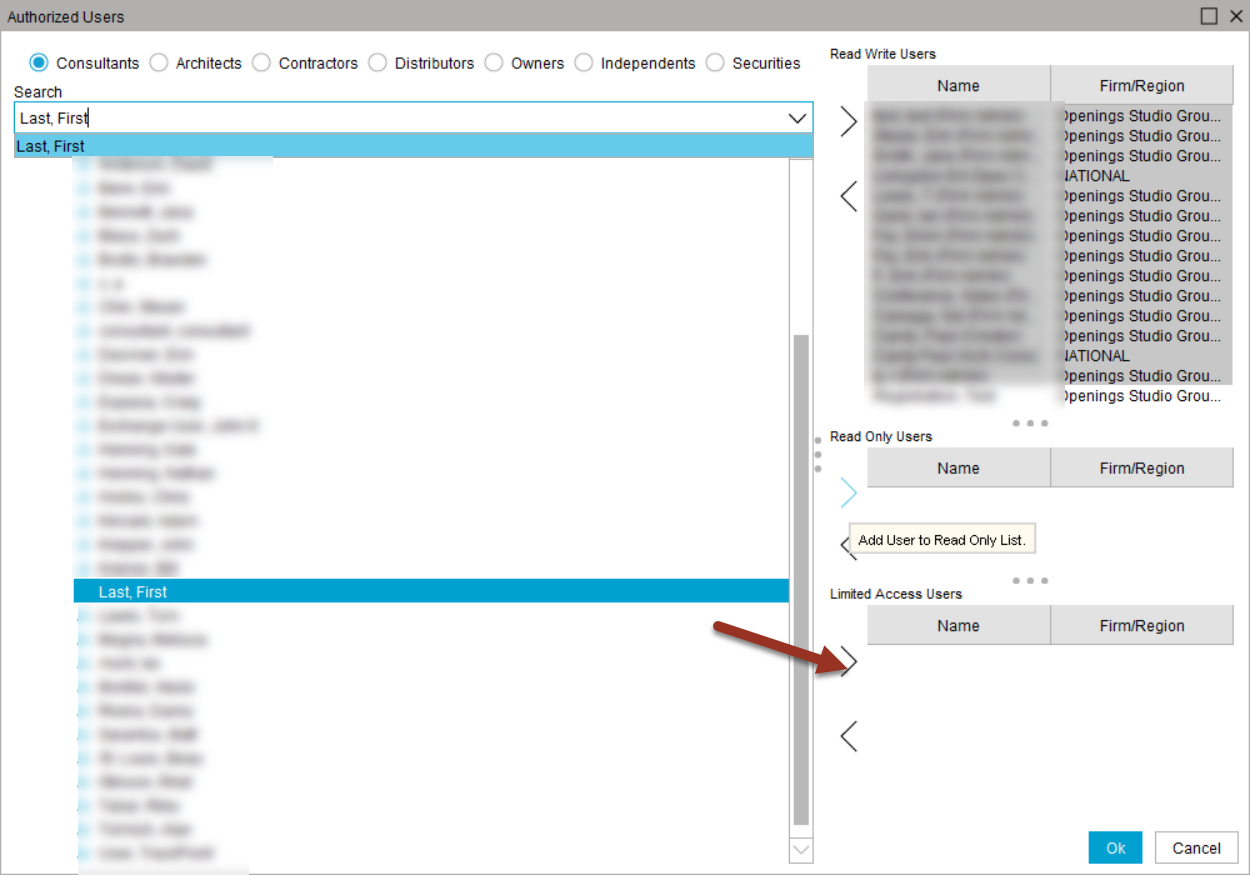
5. Add the user by selecting the add arrow ![]() next to the appropriate category.
next to the appropriate category.
- Read-Write Users: Can analyze and make changes to the project.
- Read-Only Users: Can only view the project. Changes will not be saved. Read-Only access notification pops up upon opening the project.
- Limited Access Users: Can edit RFI, status, ordered and delivered columns in the door schedule. Cannot edit hardware sets or other information.
6. Click Ok.
Note: Project creators and firm admins will always be Read-Write on a project.
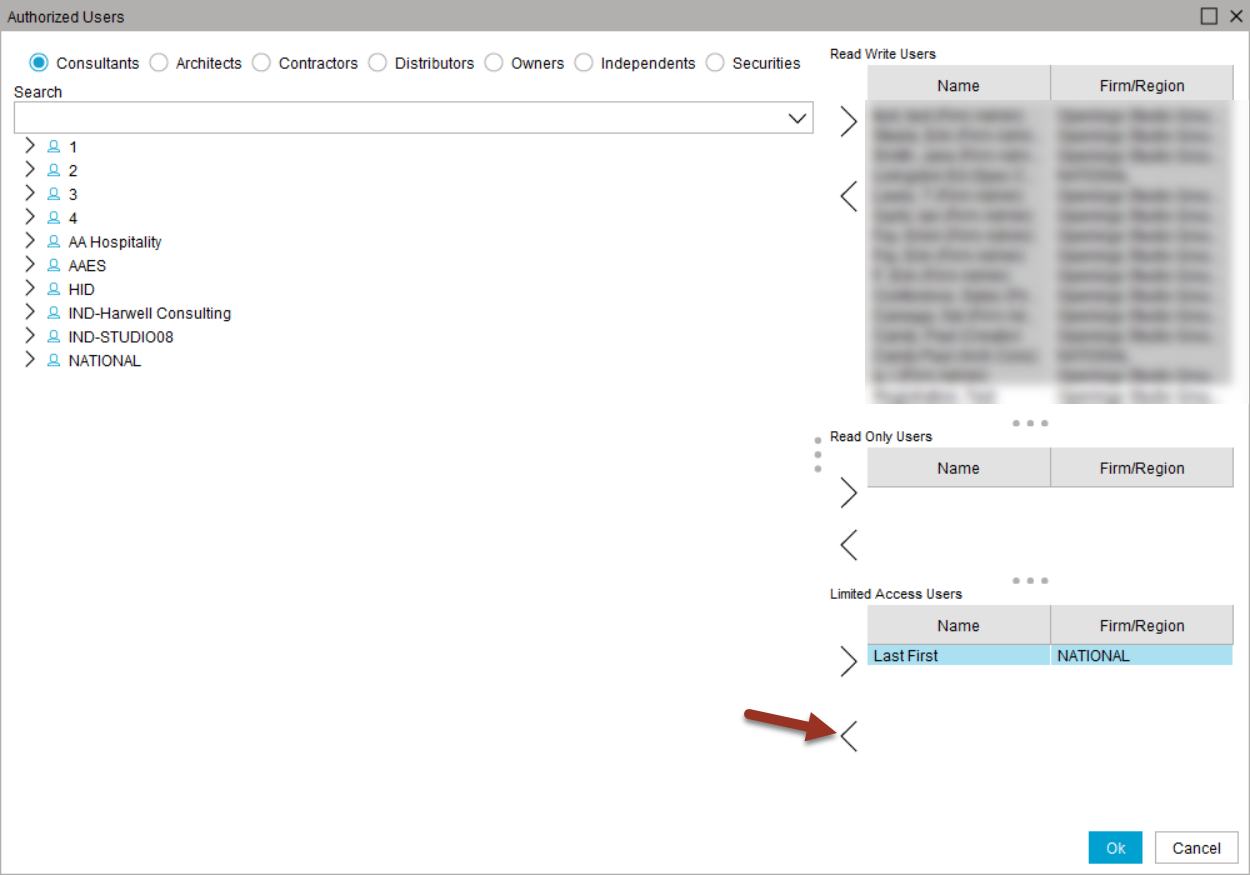
7. To remove a user, select the user, click the Remove Arrow ![]() and click Ok.
and click Ok.
Helpful Tip!
The Authorized User Button is also located on the Search Screen at the bottom left corner. It will be activated by selecting a project on the Search Screen.