If you have a 3D project from Revit, and PDF drawings to go with it, you can now automatically drop pins on the doors.
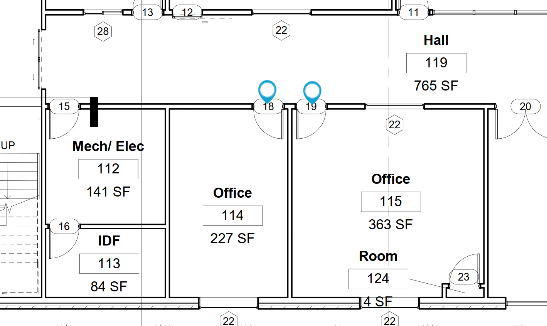
1. To get started, first you need to manually place two pins. This helps Openings Studio understand the scale of the PDF. We recommend placing the first two pins fairly far apart and as close to the center of the opening as possible.
Here are some examples of what we mean:
| No. Don't place the pins too close. | Yes! Do place the pins further apart. |
 |
 |
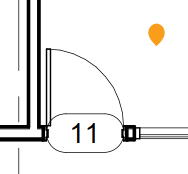
| No. Don't place the pin offset from the opening. | Yes! Do place the pin at the center of the opening. |
 |
 |
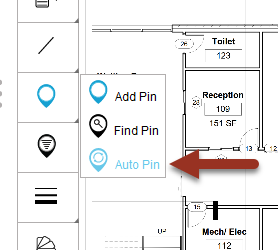
2. Next, hover over the Pin icon to find the Auto Pin button and click on it.
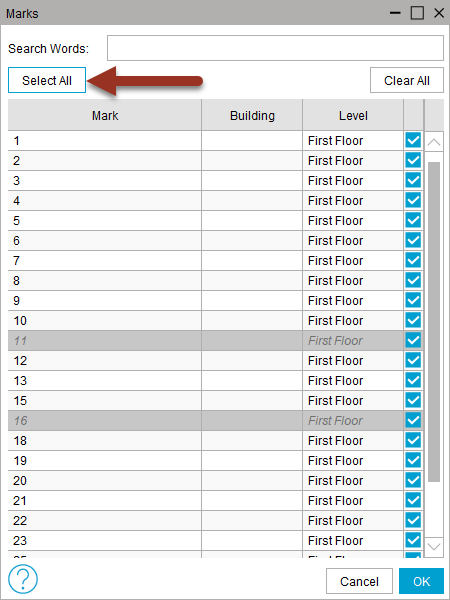
3. This will pop-up a window of doors. Openings will be filtered down by the level you are on.
You can Select All or pick the openings you want to pin (the filter might be helpful at the top!). Click OK.
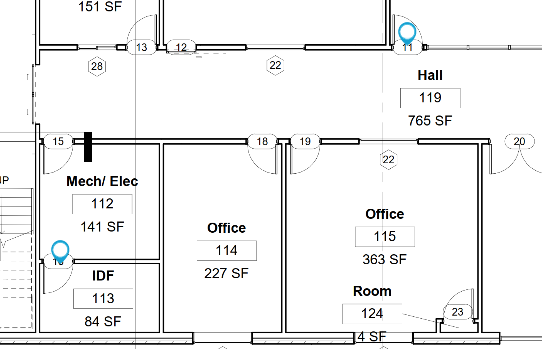
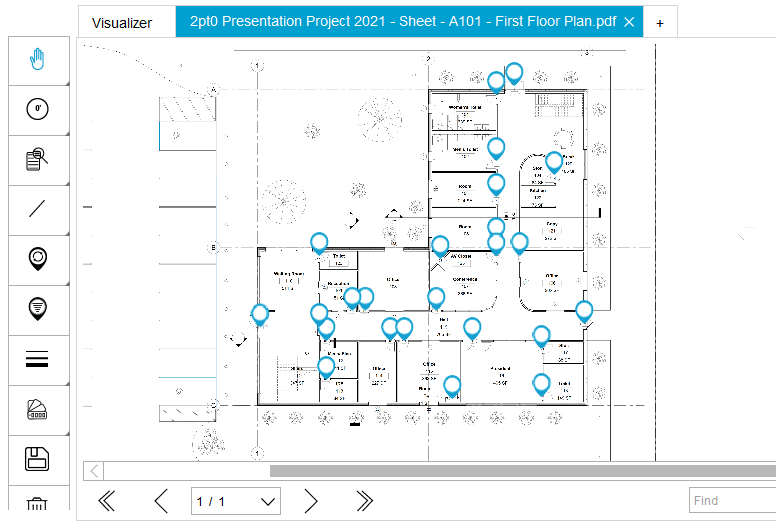
4. The rest of the doors will automatically have pins placed across the plan! Based on the accuracy of your pin placement in step 1, some pins may not be perfectly placed, but they should be close. Repeat for each PDF page.
Helpful Tips!
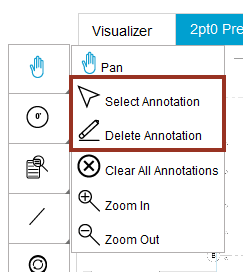
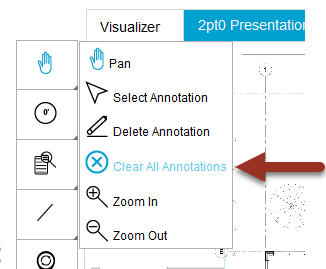
- If the pins are off too much and you would like to start over, use the Clear All Annotations under the hand icon at the top (or right click).
- If you have pins out in space where no doors appear to be, the doors are likely on another page of the PDF or they are existing openings that the architect has hidden from plan. If you want to delete them, use Select Annotation and your delete key, or Delete Annotation to click on them directly to delete them.