
The Analyze process extracts information from Revit® into Openings Studio™, including PDF drawings, 3D building view, floor plan views, door schedules, and openings with associated parameters from the 3D model. These parameters are used to specify doors, frames, and hardware.
Use this procedure for linked models.
Note: For single models or multiple models requiring separate specifications, follow the Analyze process for each model.
To analyze a linked model, follow the steps below.
1. Open the project in Revit®.
2. Verify the information in the Revit® Project Information Screen, Get started - analyze project checklist.
3. Select Analyze from the Openings Studio™ tab on the Revit® Ribbon.

Note
If Openings Studio can't identify if the project is new or an update, a prompt will display.
- If the project is a revision, select the project to be revised and click the Update Selected Project.
- If it is not a revision and should be a new project, click the New Project button.
- If you are not sure, click Let My Consultant Decide.
Learn more about how it works here.

4. The Analyze Wizard will display. To move from one tab to another, click Next at the bottom of the screen.
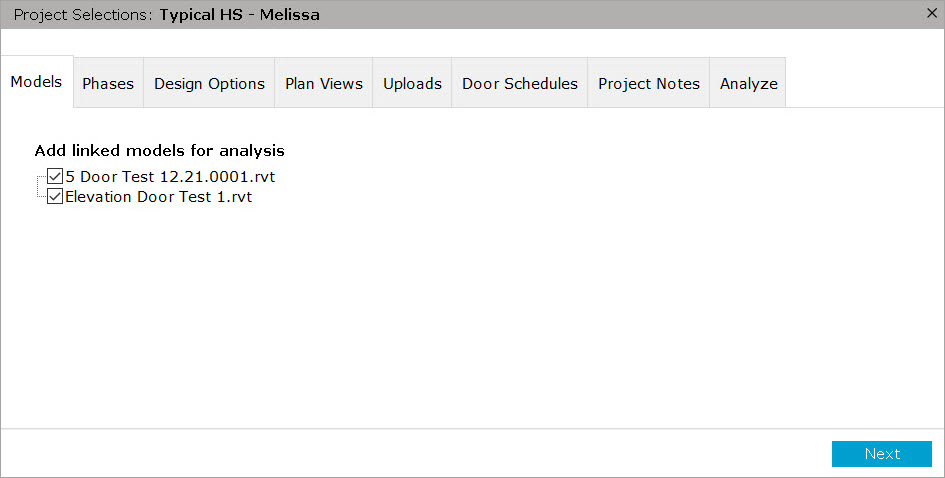
Models
If the current Revit® model contains linked models, these will be listed. Select any linked models that contain scheduled doors.
Click Next.
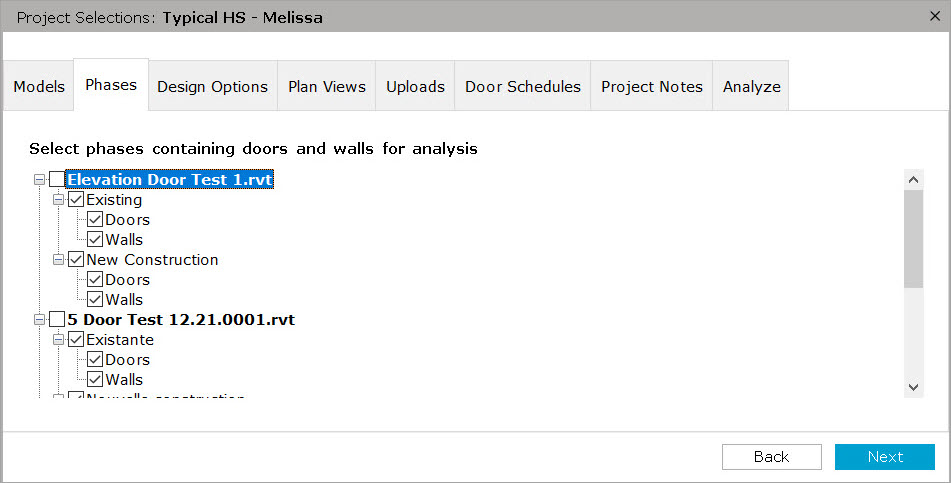
Phases
Select all doors and walls from each phase that are part of the Revit® model and door schedule. Click Next.
Helpful Hint!
- Select Existing Walls if there are new doors located in existing walls.
- Select Existing Doors if they will be modified with new hardware.
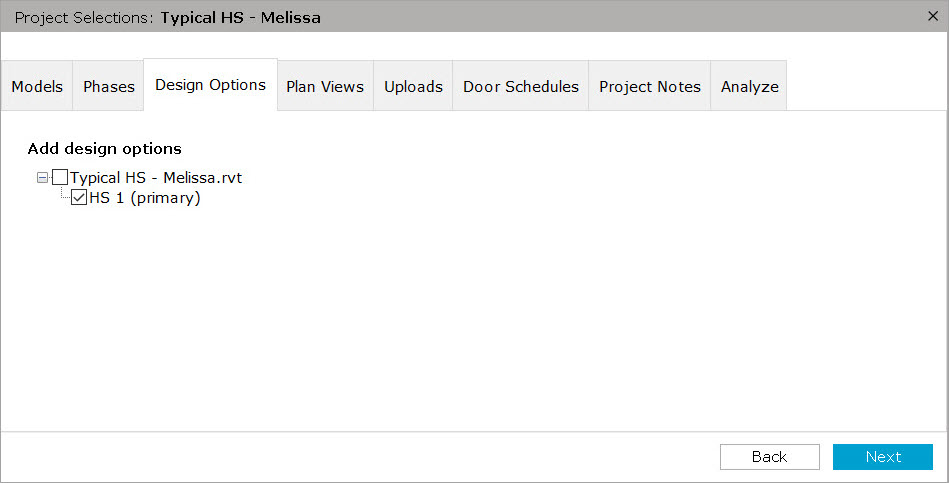
Design Options
If the Revit® model contains design options, they will be listed here. Select any design options that contain doors that need hardware sets. Primary is selected by default. Click Next.
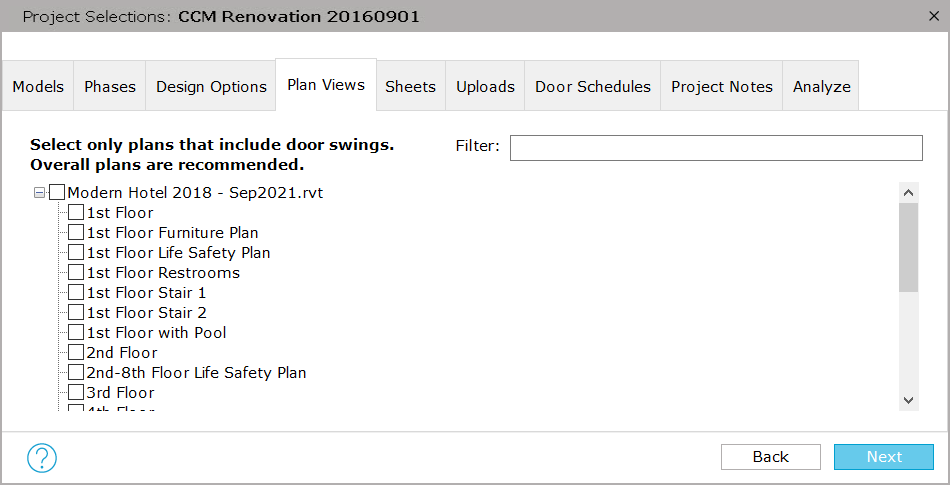
Plan Views
We have retired this feature. Plan View selections in the Analyze Wizard will only be used to collect door swing lines for the 3D and 2D view.
Helpful Hint! You can use the filter to help quickly find the plans that include door swings.
Click Next.
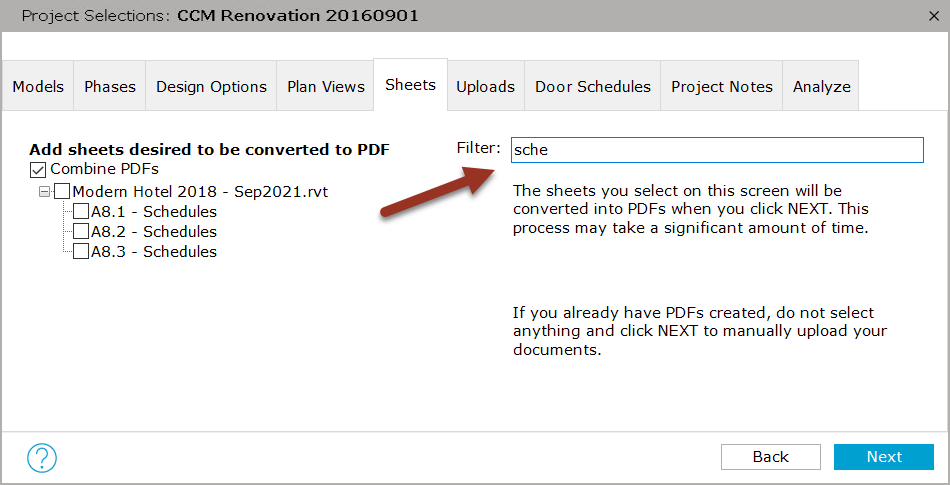
Sheets
A new tab has been added to the Analyze Wizard called Sheets and anything selected here will be turned into a PDF! No time is added to the analyze process.
Helpful Hint! You can use the filter to help quickly find sheets you wish to convert into PDFs.
Note: This feature is only available in Revit 2022.
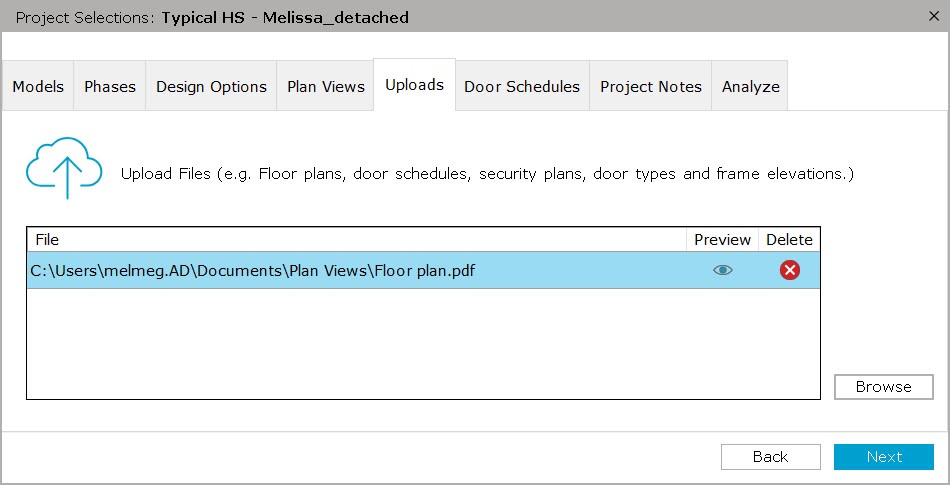
Uploads
Browse and select any files to be included, e.g. floor plans, door schedules, door and frame elevations, life safety, and security plans. Click Next.
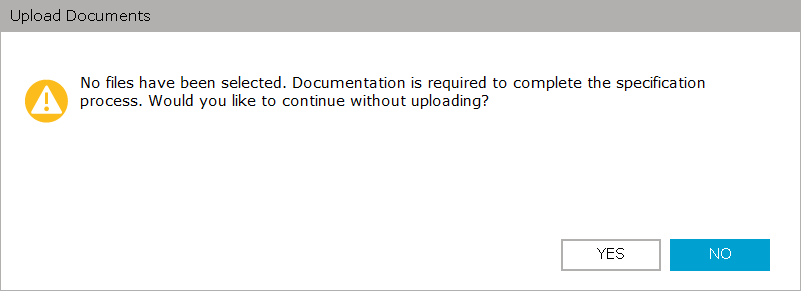
Note: Please upload any PDFs of the floor plans (overall and area plans), door schedule, door elevations, and life safety drawings. If they are not ready, send them to your ASSA ABLOY Consultant when they are available. These are necessary for the specification writers to proceed. If no files are selected, a reminder prompt will display.
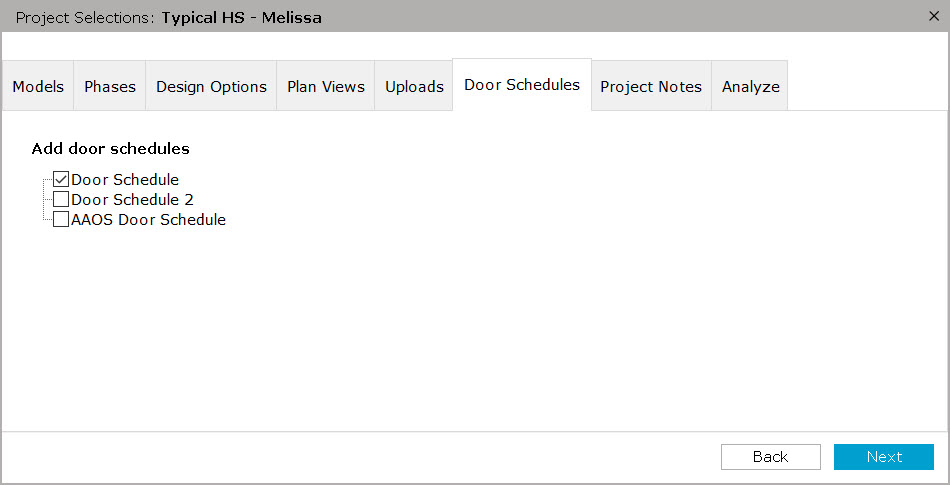
Door Schedules
Select relevant door schedules. Click Next.
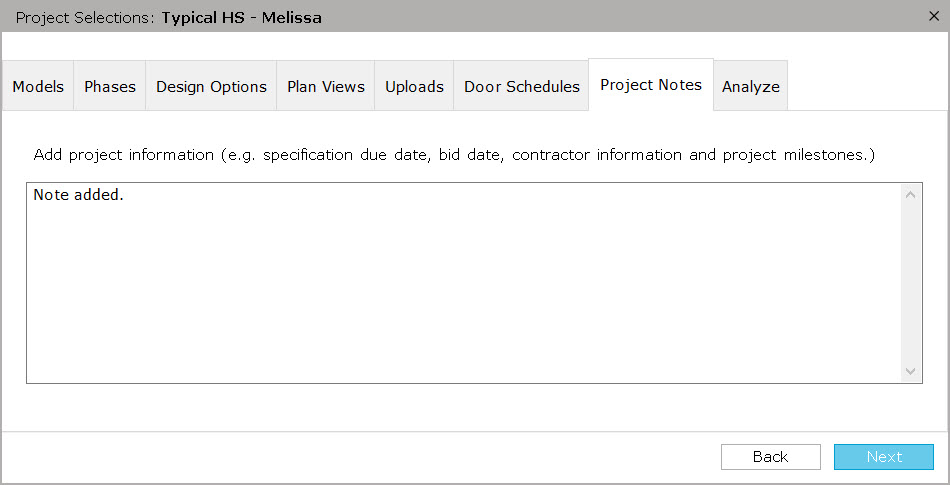
Project Notes
Add additional project information. Click Next.
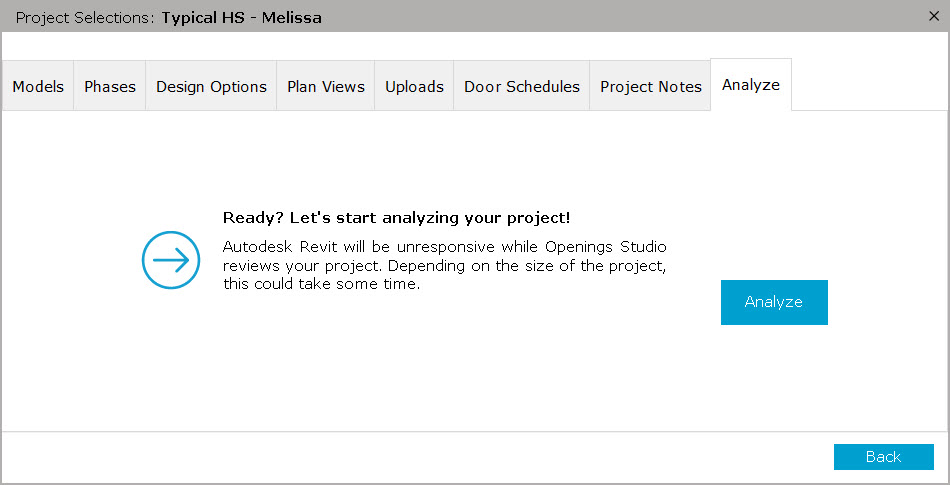
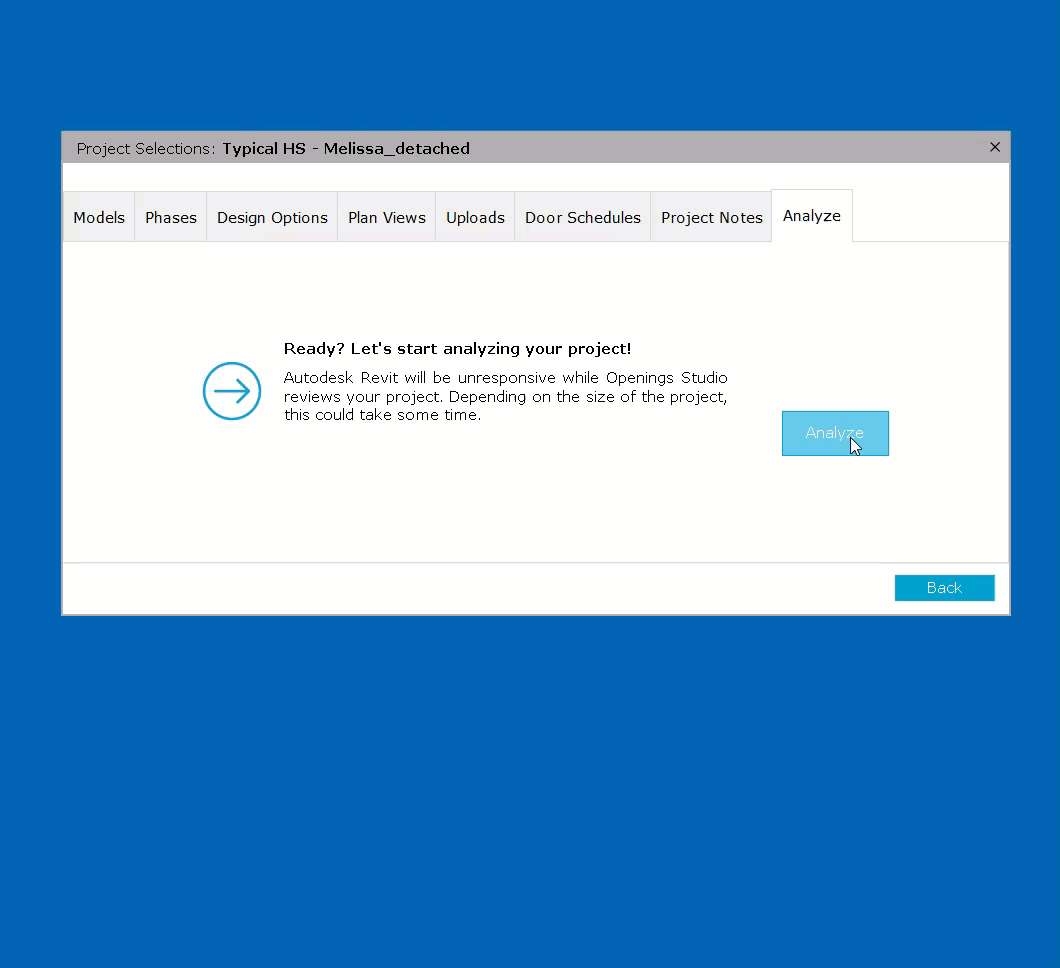
Analyze
Click the Analyze button to being the process. Revit® will be unresponsive during this process.
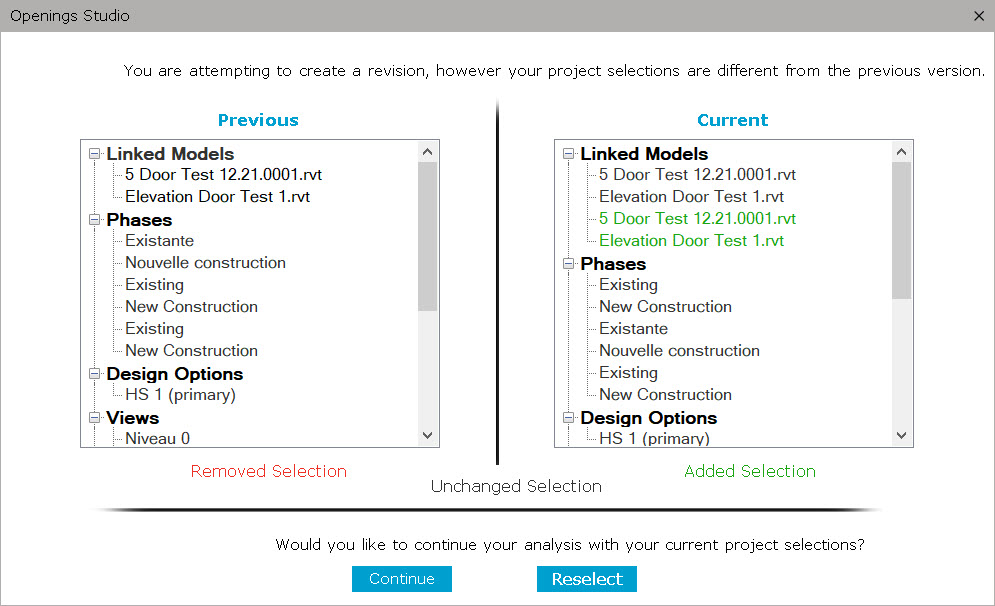
5. If the project has been previously analyzed, Openings Studio™ may open a window to compare current selections with previous selections. If current selections are correct, click on the Continue button. To change the selections, click on Reselect.
Helpful Tip!
This can also happen if the same project number has been used for multiple projects analyzed separately. Refer to Get started - analyze project checklist.
6. The Analyze process will begin.
Note: Analyze time may vary depending on the size of the project. Click on Show Details see a visualization of the process.
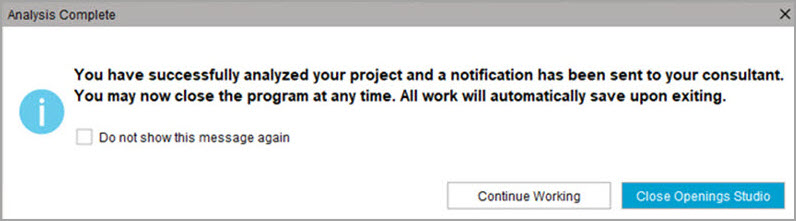
7. When Analyze is complete, the Openings Studio™ interface will display and the project will open automatically. A confirmation will also be sent to both the architect and the specification consultant.
Related Links